Thursday, September 6, 2012
Hiatus
Hi, guys. First off, I'm sorry. I haven't been nearly as active and up on my posting as I should have been, and I'm sorry for that. I've decided to take a break from blogging for an undetermined period of time. I'm not nearly as enthusiastic about it as I want to be, and it's come to seem like more of a chore than something I want to do. I don't want it to be that way. This blog started out as a hobby, and that's how I want to keep it. Additionally, the school year is kicking into full gear and I want to focus on that. I love each and every one of you, and every comment I get means so much to me. Thank you so much for actually enjoying what I write. I'm going to miss you all. Hopefully I'll be back soon.
Tuesday, September 4, 2012
FOTD ft. Wet N Wild
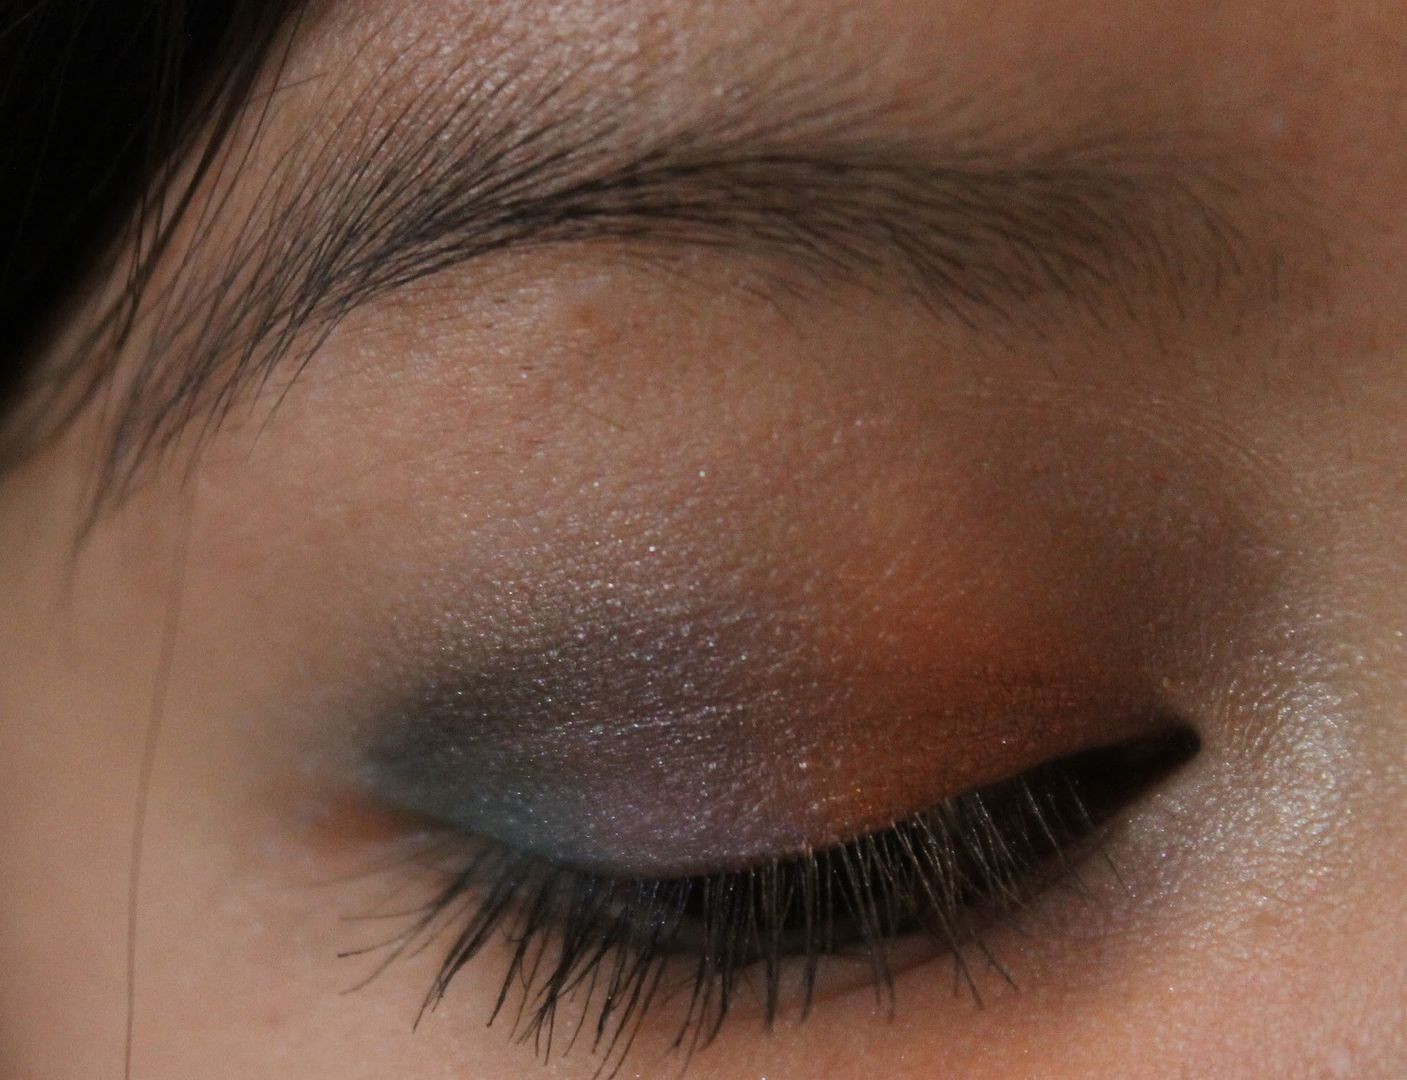
I wanted to try to use more drugstore products on my eyes this time, since I feel like I end up using too much high end stuff. I love my Wet N Wild products, so I did this eye look using mostly Wet N Wild products! Let me know if you guys want to see more looks using only drugstore products, or more looks using only/mostly one brand!
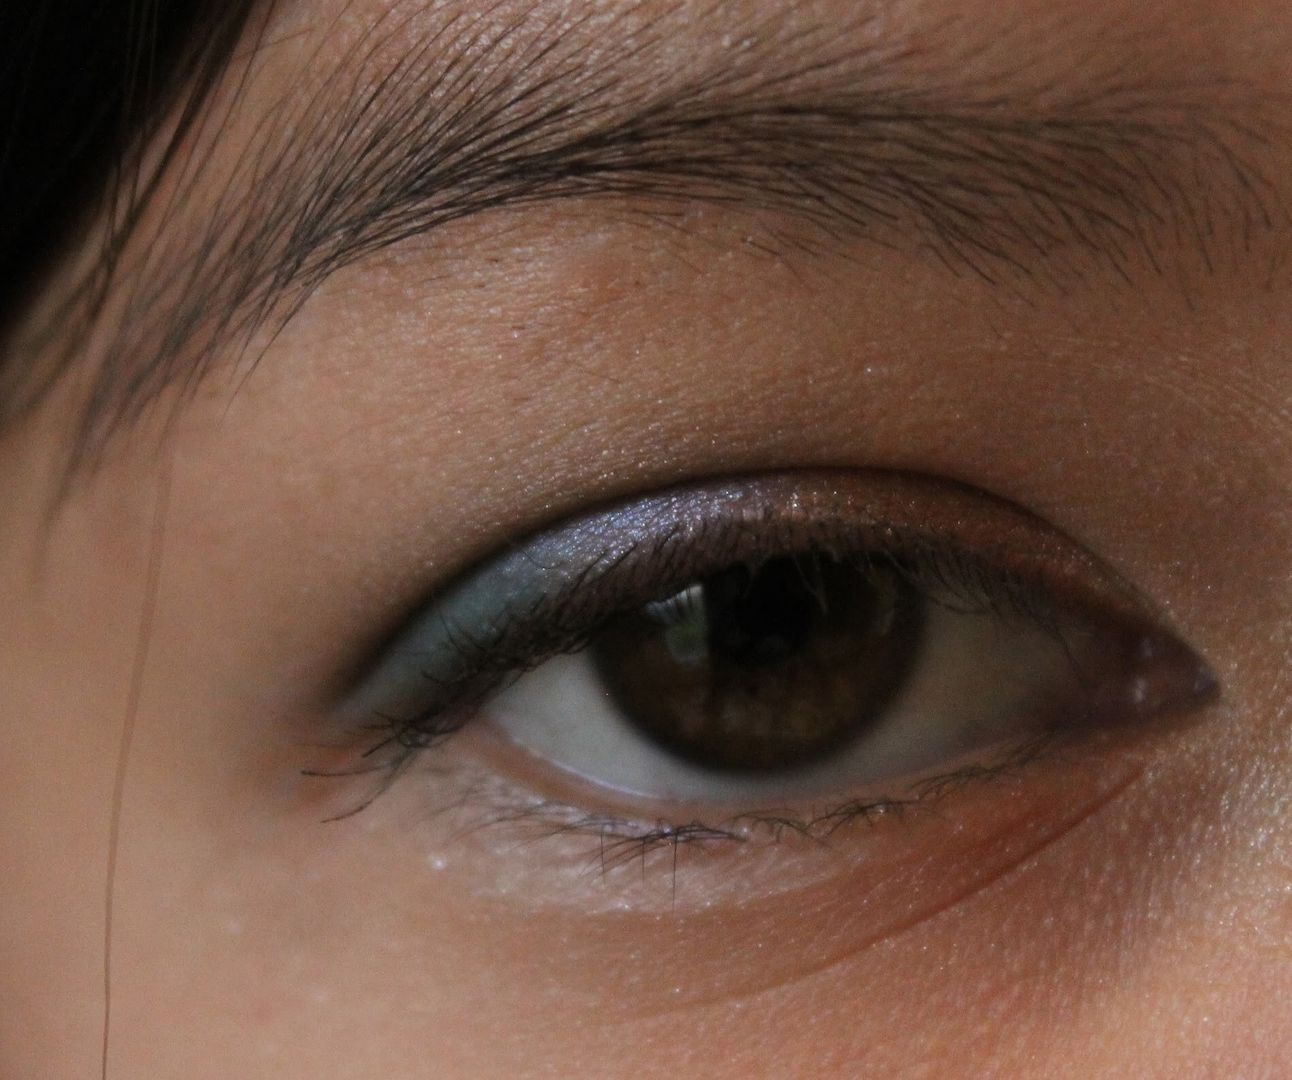
Eyes
Wet N Wild Comfort Zone left half Eyelid shade (inner 1/3 of lid)
Wet N Wild Fauna Eyelid shade (middle 1/3 of lid)
Wet N Wild Fauna Crease shade (outer 1/3 of lid)
Wet N Wild Comfort Zone left half Browbone shade (inner corner)
Inglot Pearl 409 (outer 1/3 of crease)
Fairydrops Scandal Queen Mascara
YBF Automatic Brow Pencil in Universal Taupe
Face
MUFE Full Cover Concealer in 7
Pur Minerals 4-in-1 Foundation in Blush Medium
MAC Fleet Fast
Benefit Hoola
theBalm Mary Lou-manizer
theBalm Sexy Mama Powder
Lips
MAC Bombshell
Hope you guys liked this, I haven't done a more colorful look for a while!
Sunday, September 2, 2012
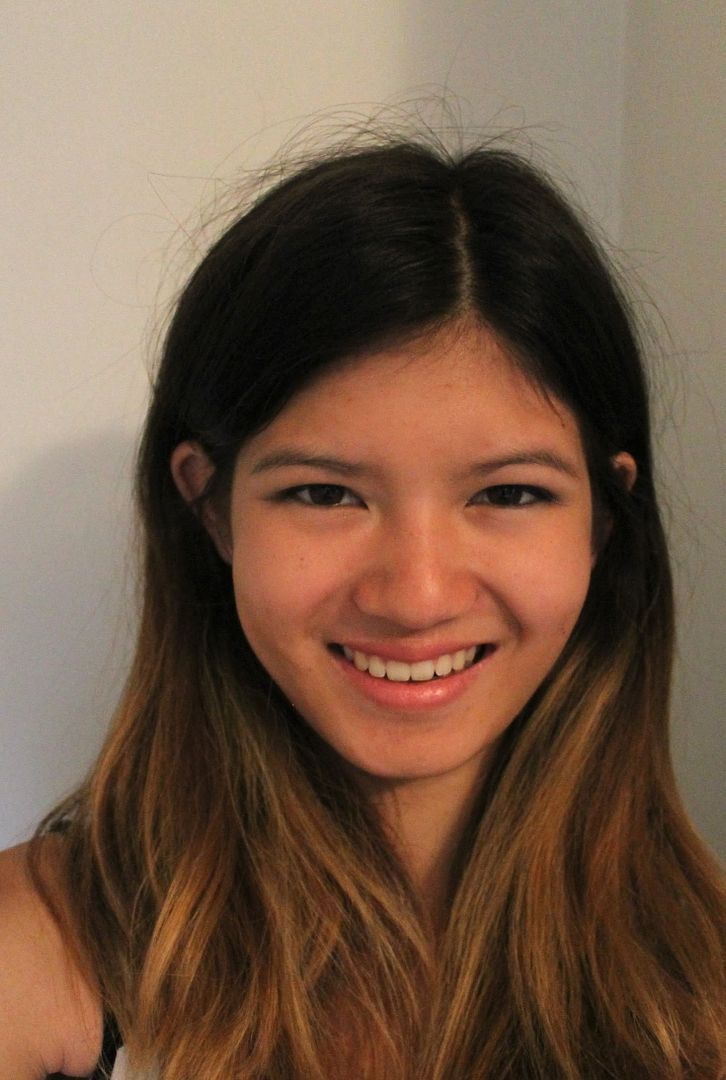
Dramatic Bright EOTD/FOTD
I decided to go with a more dramatic look, since I usually either do neutrals or simple bright looks. And, they're higher quailty images than I used to post because they're taken with my new camera (ahhhh)! Enjoy!


Eyes
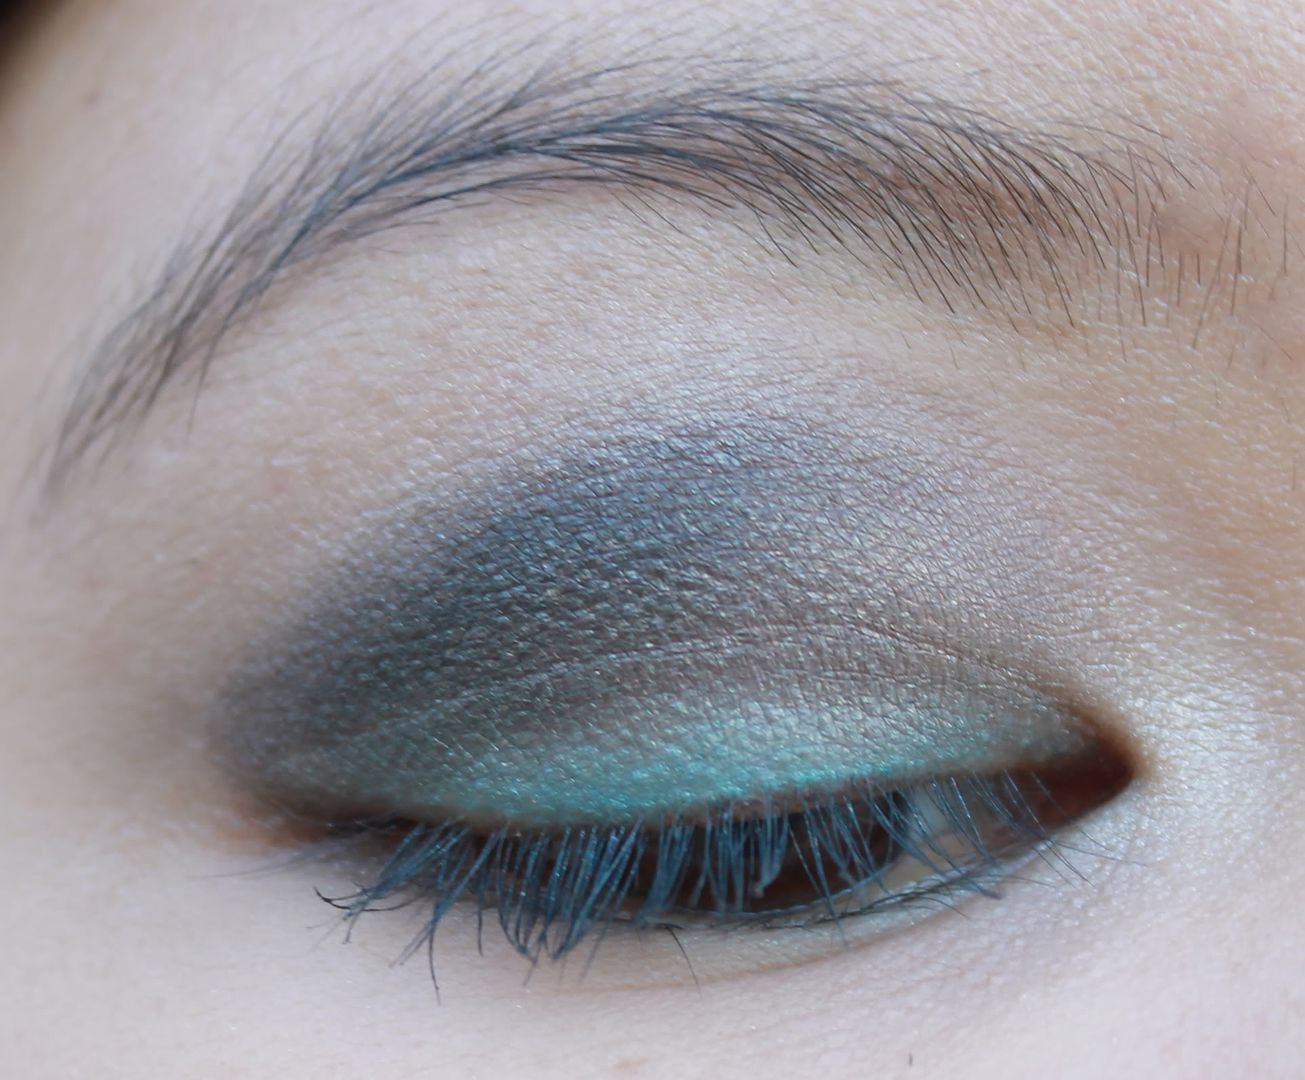
Azade Emerald Stone (allover lid)
Urban Decay Naked2 Blackout (in outer 2/3 of crease, brought down to outer corner)
Urban Decay Naked2 Snakebite (in inner 1/3 of crease and under where Blackout was placed)
Urban Decay Naked2 Busted (lower lashline)
Urban Decay Naked2 Bootycall (inner corner & browbone)
Fairydrops Scandal Queen Mascara
YBF Brow Pencil in Universal Taupe
Face
MUFE Full Cover Concealer in 7
Pur Minerals 4 in 1 Foundation
Wet N Wild Pearlescent Pink Blush (from LE Fauna set)
Benefit Hoola
theBalm Sexy Mama Pressed Powder
Lips
Inglot 145 Lipstick
Sunday, August 26, 2012
First OOTD!
Yeah, I'm actually going to show you guys an outfit of the day. WHOA. I just really like this shirt and wanted to show you guys! Summer's ending soon (school starts tomorrow), and this top isn't really suited for winter, so I wanted to post this before summer ends.

Top: Forever 21
Undershirt: Forever 21
Jeans: Lucky Brand
Top: Forever 21
Undershirt: Forever 21
Jeans: Lucky Brand
Thursday, August 23, 2012
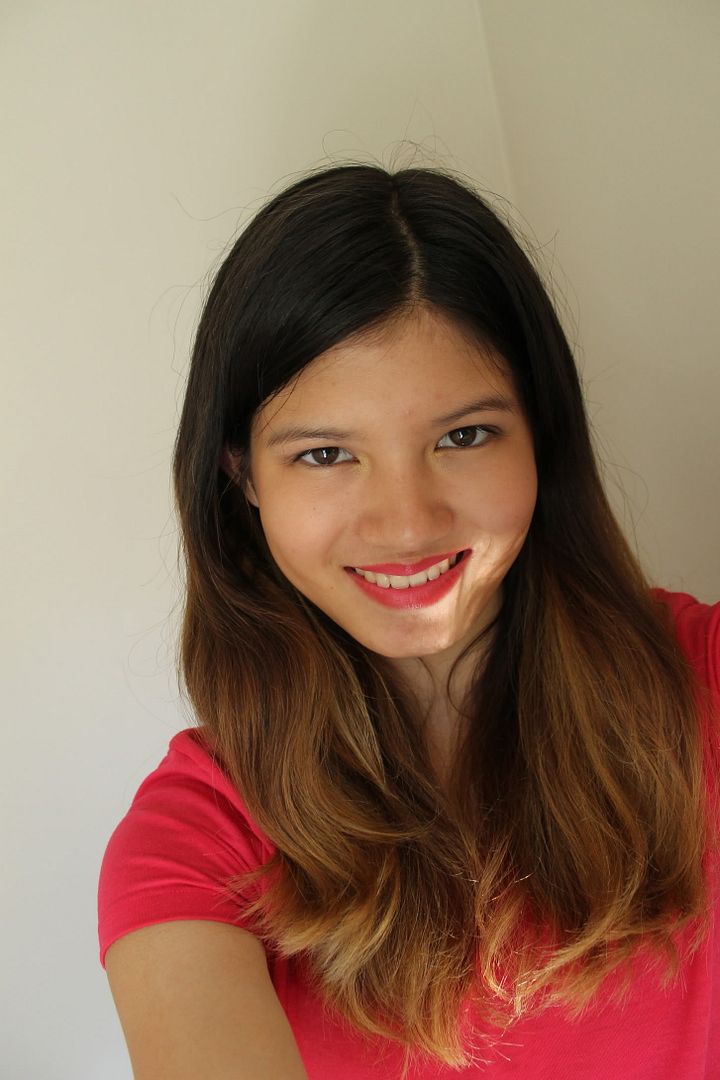
FOTD with Ombre Lips!
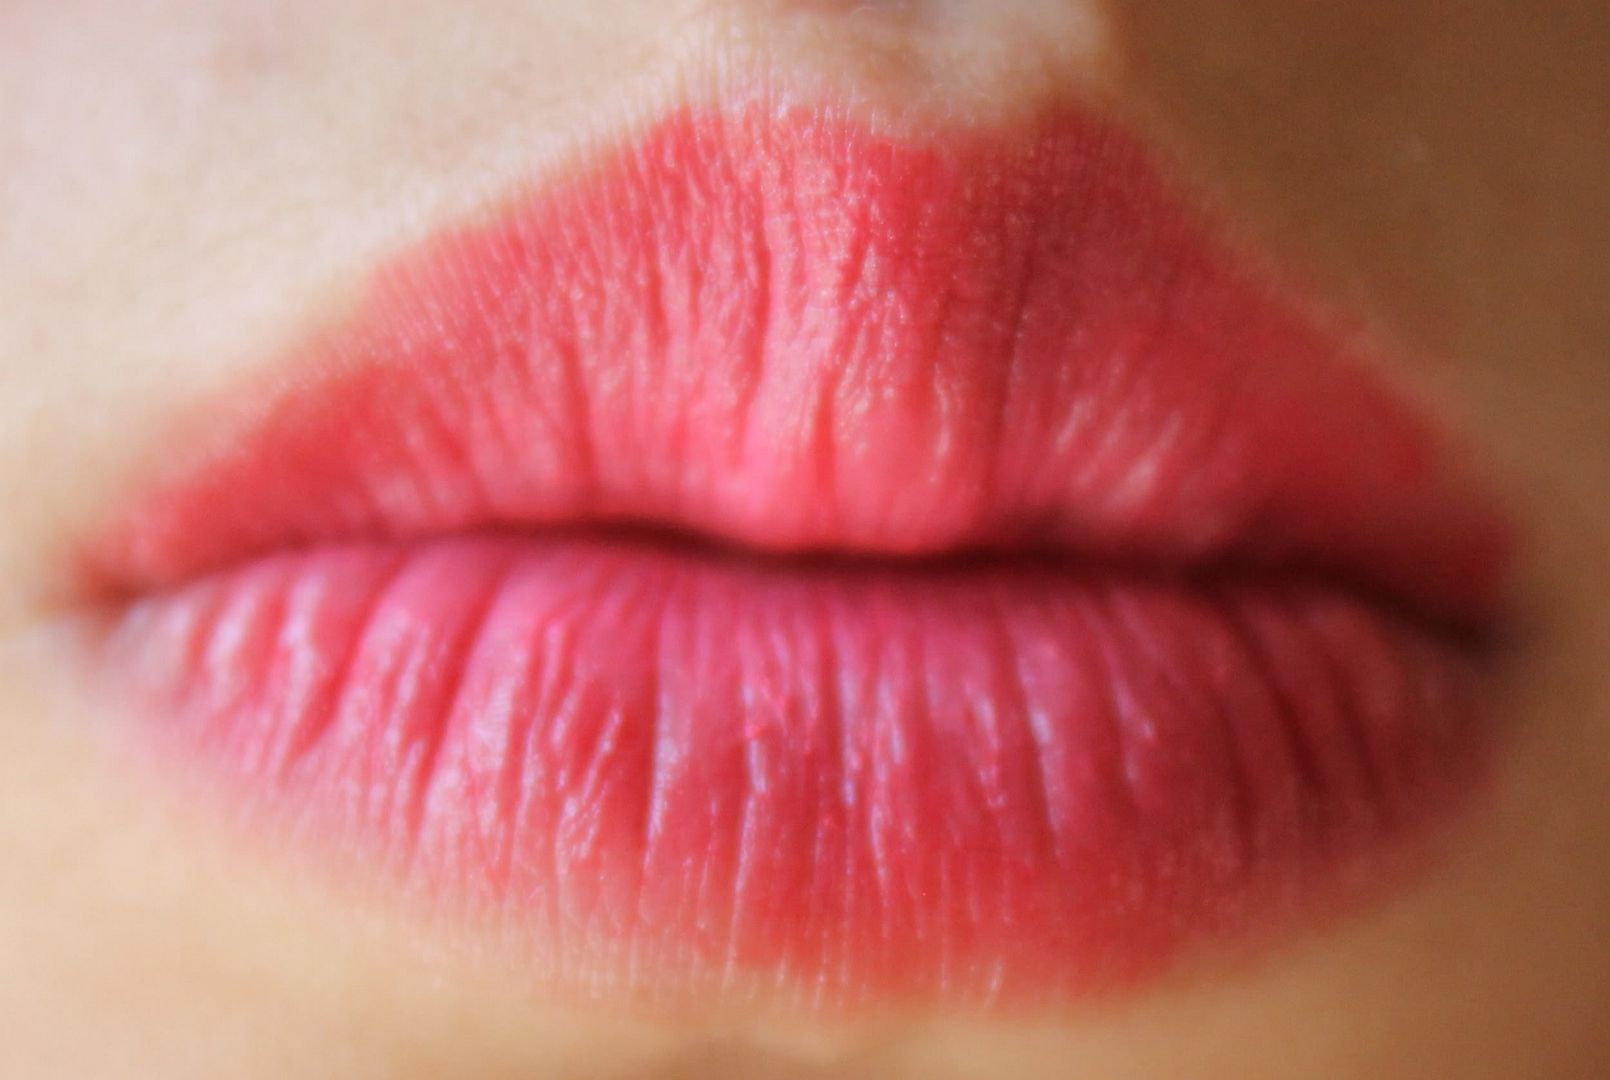
I've always wanted to try the ombre lips trend, so I did it! It didn't really turn out how I imagined, but I'm still pleased with the result; it's very subtle, although the lip itself is quite dramatic. I paired it with a really neutral eye.
Eyes
Maybelline Browntones Eyeshadow Duo (right shade allover lid)
Inglot AMC Shine 27 (inner 1/3 of lid and inner corner)
YBF Automatic Brow Pencil in Universal Taupe
Fairydrops Scandal Queen Mascara
Face
MUFE Full Cover Concealer in 7
Pur Minerals 4-in-1 Foundation in Blush Medium
theBalm Hot Mama Blush
Benefit Hoola
theBalm Sexy Mama Powder
Lips
Maybelline Red Revival (on outer lipline)
MAC Viva Glam Nicki (inner lips)
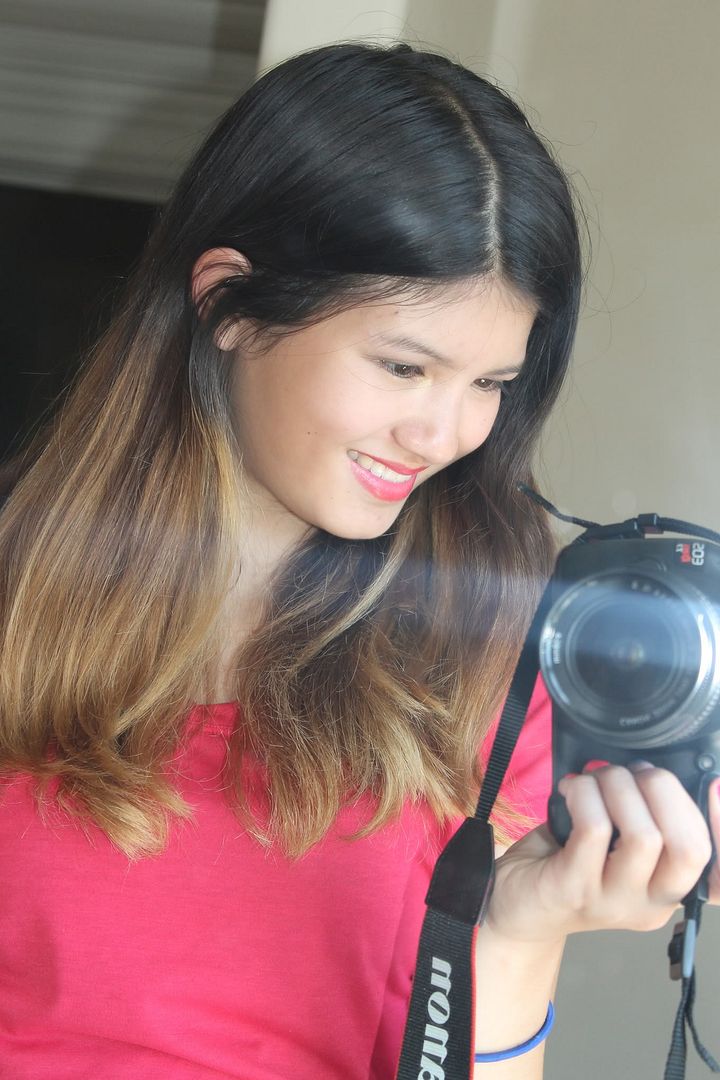
I have to say, I am in LOVE with my new camera. Cue awkward mirror selfie...
Anyway, what do you guys think of the ombre lips trend? Would you ever wear it out of the house?
Maybelline Browntones Eyeshadow Duo (right shade allover lid)
Inglot AMC Shine 27 (inner 1/3 of lid and inner corner)
YBF Automatic Brow Pencil in Universal Taupe
Fairydrops Scandal Queen Mascara
Face
MUFE Full Cover Concealer in 7
Pur Minerals 4-in-1 Foundation in Blush Medium
theBalm Hot Mama Blush
Benefit Hoola
theBalm Sexy Mama Powder
Lips
Maybelline Red Revival (on outer lipline)
MAC Viva Glam Nicki (inner lips)
I have to say, I am in LOVE with my new camera. Cue awkward mirror selfie...
Anyway, what do you guys think of the ombre lips trend? Would you ever wear it out of the house?
Monday, August 20, 2012
NOTD and my attempt at a gradient nail!
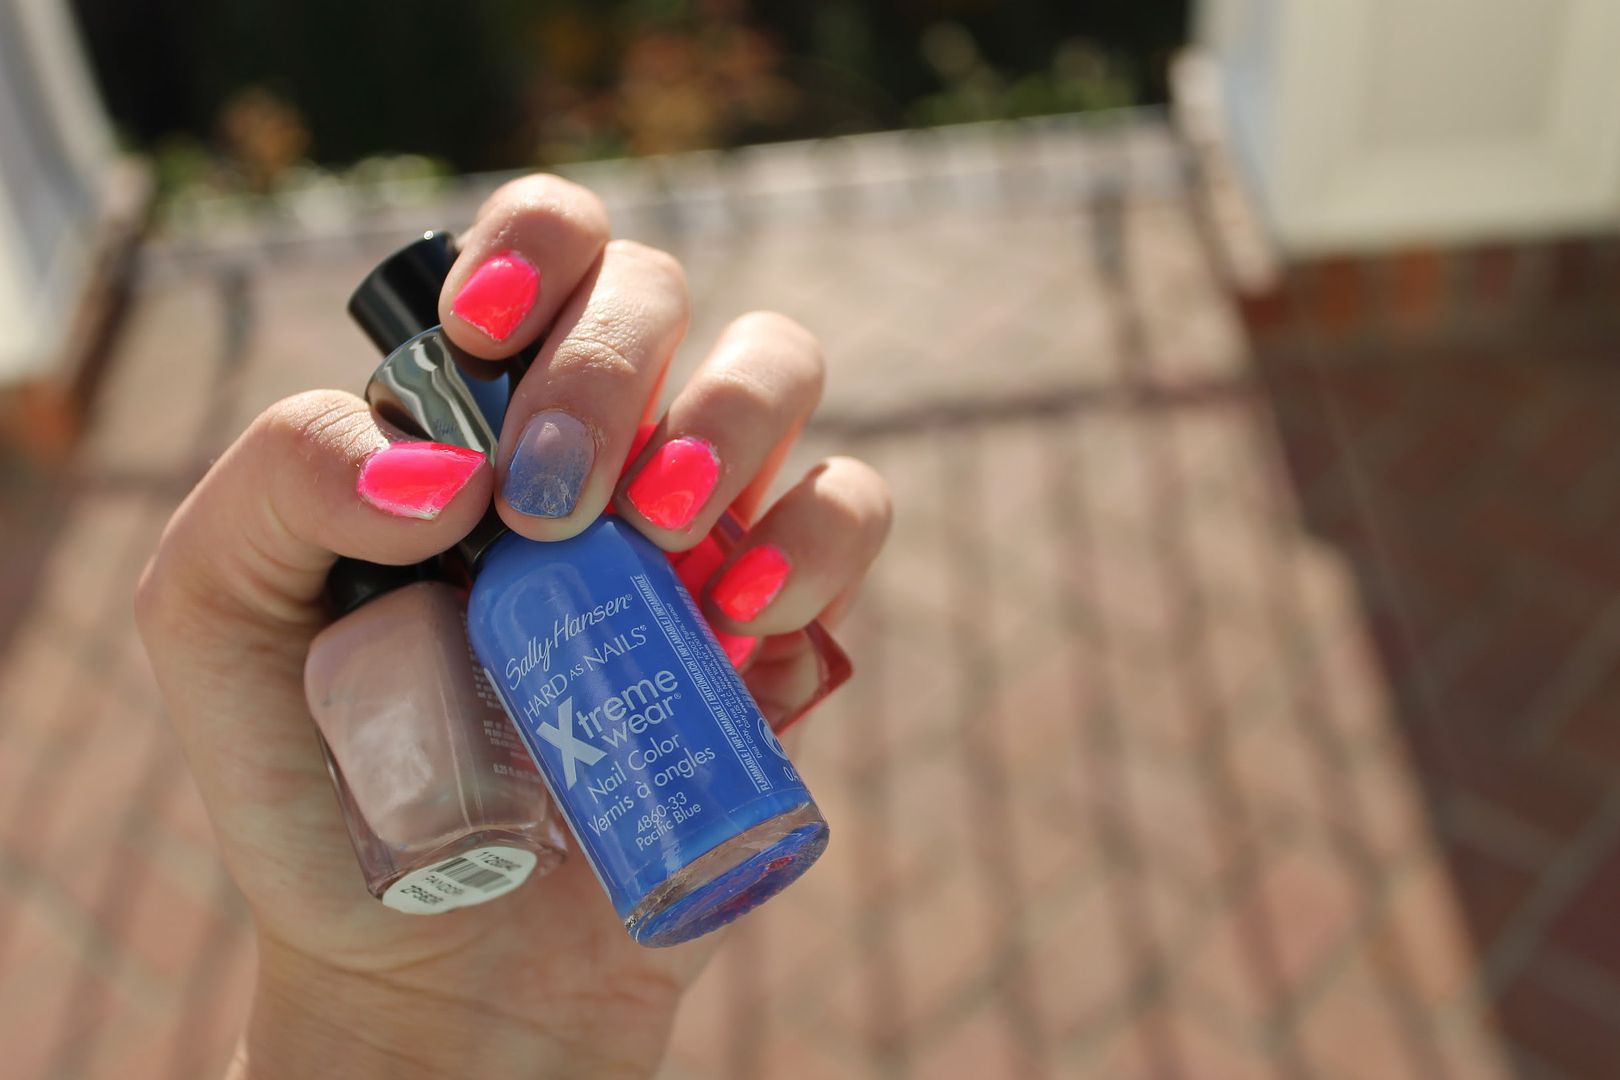
It's the last week or so of summer for me, my school starts on the 28th! So, I decided to use the nail polish I received in my Glam bag as it's the first neon nail polish I own, and I decided to also try a gradient nail as an accent, since I love the effect and I've seen them on many other blogs (I followed The Nailasaurus' tutorial, which was fantastic). I was going to do a ring finger accent, but long story short I didn't.
I used Circus by Andreas' Choice nail polish in Ringmaster for all of my nails except my middle nail. For the gradient, I used Zoya Pandora as the base and Sally Hansen Xtreme wear in Pacific Blue for the tip color. Enjoy!
I used Circus by Andreas' Choice nail polish in Ringmaster for all of my nails except my middle nail. For the gradient, I used Zoya Pandora as the base and Sally Hansen Xtreme wear in Pacific Blue for the tip color. Enjoy!
Tuesday, August 14, 2012
Emerald Stone My Heart: Review and Swatch of Azade Eyeshadow in Emerald Stone
This is going to be a bit of a mean post for anyone who lives in the US. This is an eyeshadow I picked up while in Greece about a year ago, and I'm not sure how someone in the US would go about procuring this shade. So I apologize in advance, but I just love this eyeshadow so much I wanted to tell those who would have access to it about it. This eyeshadow is from a brand called Azade. It's not the brand they have called Maquilllage, it's the brand Azade. I have no idea why this is so. Anyway, this particular shade is called Emerald Stone, and it's beautiful.


I find the packaging on this to be a bit cheapy, but that's fine since it keeps costs down - I think this was around 5€. Plastic, but it doesn't seem like it would break easily. The lid snaps shut. This eyeshadow is a bright turquoise that has an almost-duochrome effect of green and blue. It reminds me of the ocean. It's shimmery, but not glittery. It's pretty well pigmented. Here's swatches:


I find the packaging on this to be a bit cheapy, but that's fine since it keeps costs down - I think this was around 5€. Plastic, but it doesn't seem like it would break easily. The lid snaps shut. This eyeshadow is a bright turquoise that has an almost-duochrome effect of green and blue. It reminds me of the ocean. It's shimmery, but not glittery. It's pretty well pigmented. Here's swatches:

One layer

Two layers
The formula of this eyeshadow is super smooth, and it applies really easily. It won't crease under eyeshadow primer, but it will without in a couple hours (although I have unusually oily lids, even with UDPP I sometimes get creasing). And the fading on this eyeshadow throughout the day, even without primer, is seriously nonexistent. It's still just as vibrant and fun at the end of the day as it was at the beginning.
Overall, I love this eyeshadow! I only use it on my lower lashline normally since it's quite bright, and I want to conserve it as I have no way of repurchasing when this runs out. The formula and color are just fabulous. I really am sorry for raving about this eyeshadow and having no way for you to purchase it. >.< But I just had to share my love for this eyeshadow!
Rating: 5/5
I am still in Peru, I deeply apologize for the lack of posts in the past month (I was at debate camp for most of July and part of August, then I went straight to Peru after camp ended). This is the first time I have accessed a computer since August 3, my last post was written from my phone. Anyway, once I'm home, I have tons of posts to write and trip pictures to share with you!
Oh, and I have some REALLY exciting news. It was my birthday on July 30, and I got an SLR (the Canon Rebel T3). I was like fkjlsdfjklsdfjs. I can't even express my excitement...what this means for you guys is improved picture quality and shots that are more true to color. I love taking pictures, and it'll be amazing to finally do it with a decent camera (I usually use a point-and-shoot). I'm just sooooo excited and I hope you are all having great Tuesdays!
Thursday, August 9, 2012
Sorry All!
I am so so so sorry for the lack of posts recently. I was at debate camp for 3 weeks, which was soooooo busy, and I'm now in Peru and rarely
have WiFi, much less a computer to post from. I am so sorry for being so inactive and I love every one of you for not unfollowing me and sticking by me! Sorry again, I'll hit you with a flurry of posts once I get back home! Meanwhile, here's a picture of the sunrise over the Amazon for you to enjoy.

have WiFi, much less a computer to post from. I am so sorry for being so inactive and I love every one of you for not unfollowing me and sticking by me! Sorry again, I'll hit you with a flurry of posts once I get back home! Meanwhile, here's a picture of the sunrise over the Amazon for you to enjoy.

Wednesday, August 1, 2012
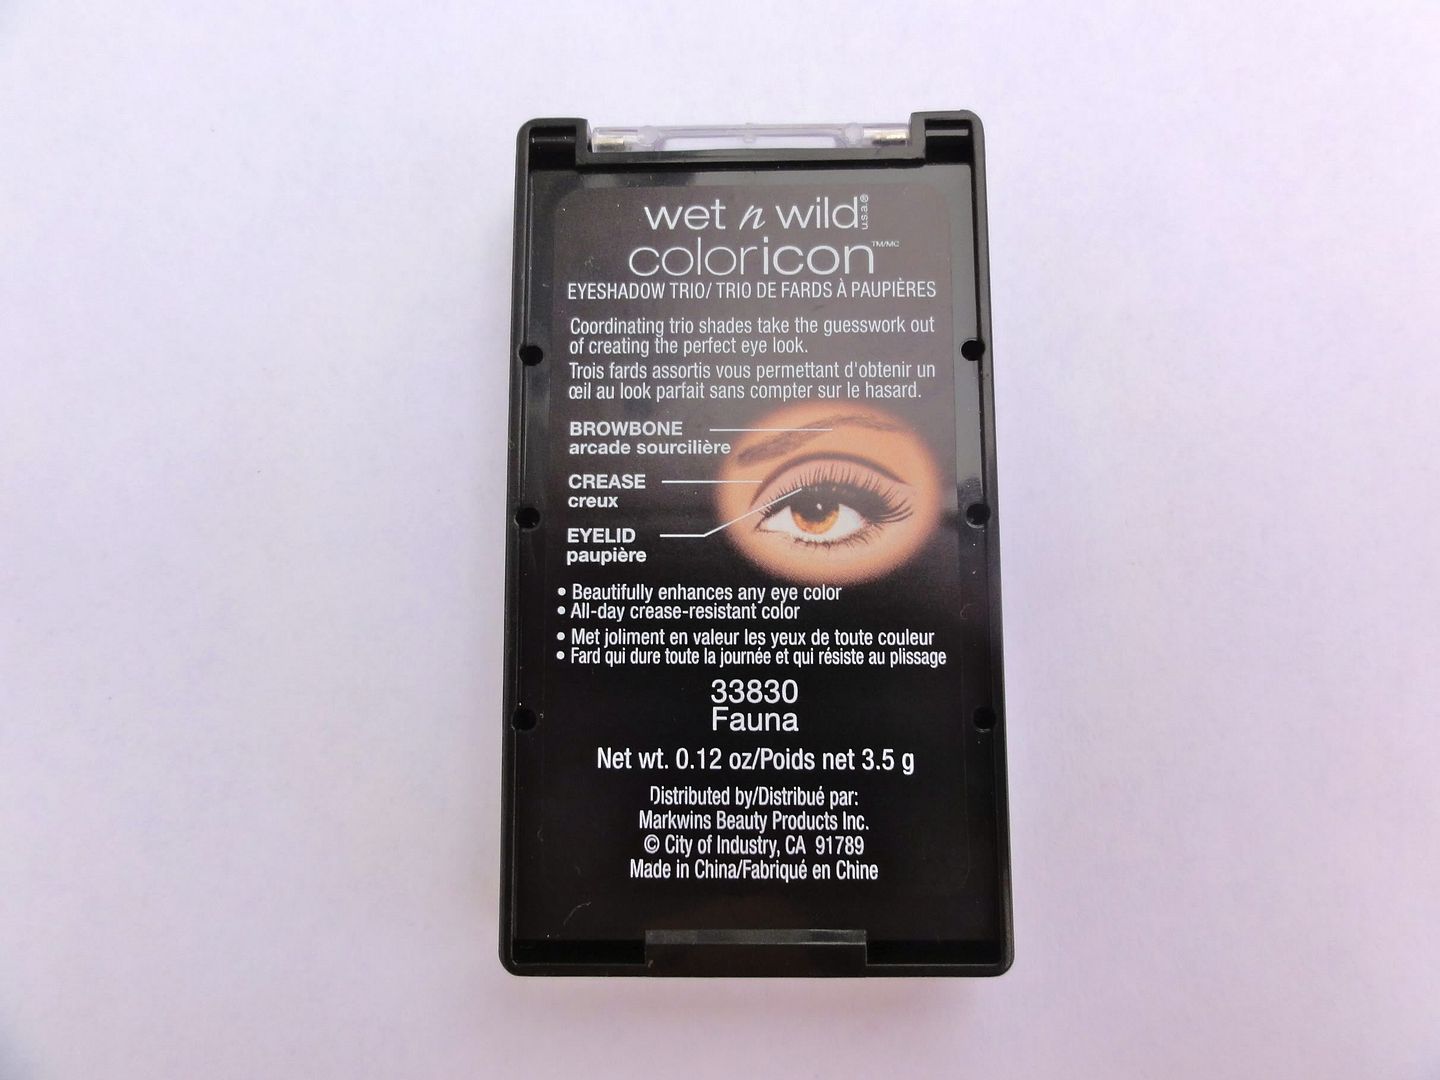
Wet N Wild Fauna Set
I was visiting my aunt and uncle in Seattle, and they have a drugstore there called Bartell's. We went to visit it, and they had a really exciting clearance section. I picked up the OPI dupe of Chanel Peridot (called Just Spotted The Lizard) as well. I used it and forgot to photograph it, so it chipped before I got to take any pictures. but I'll try to have a post on that up eventually. Anyway, I got this set for $3.50! Not bad for a blush, eyeshadow, and lip gloss! I'll review the products one by one.
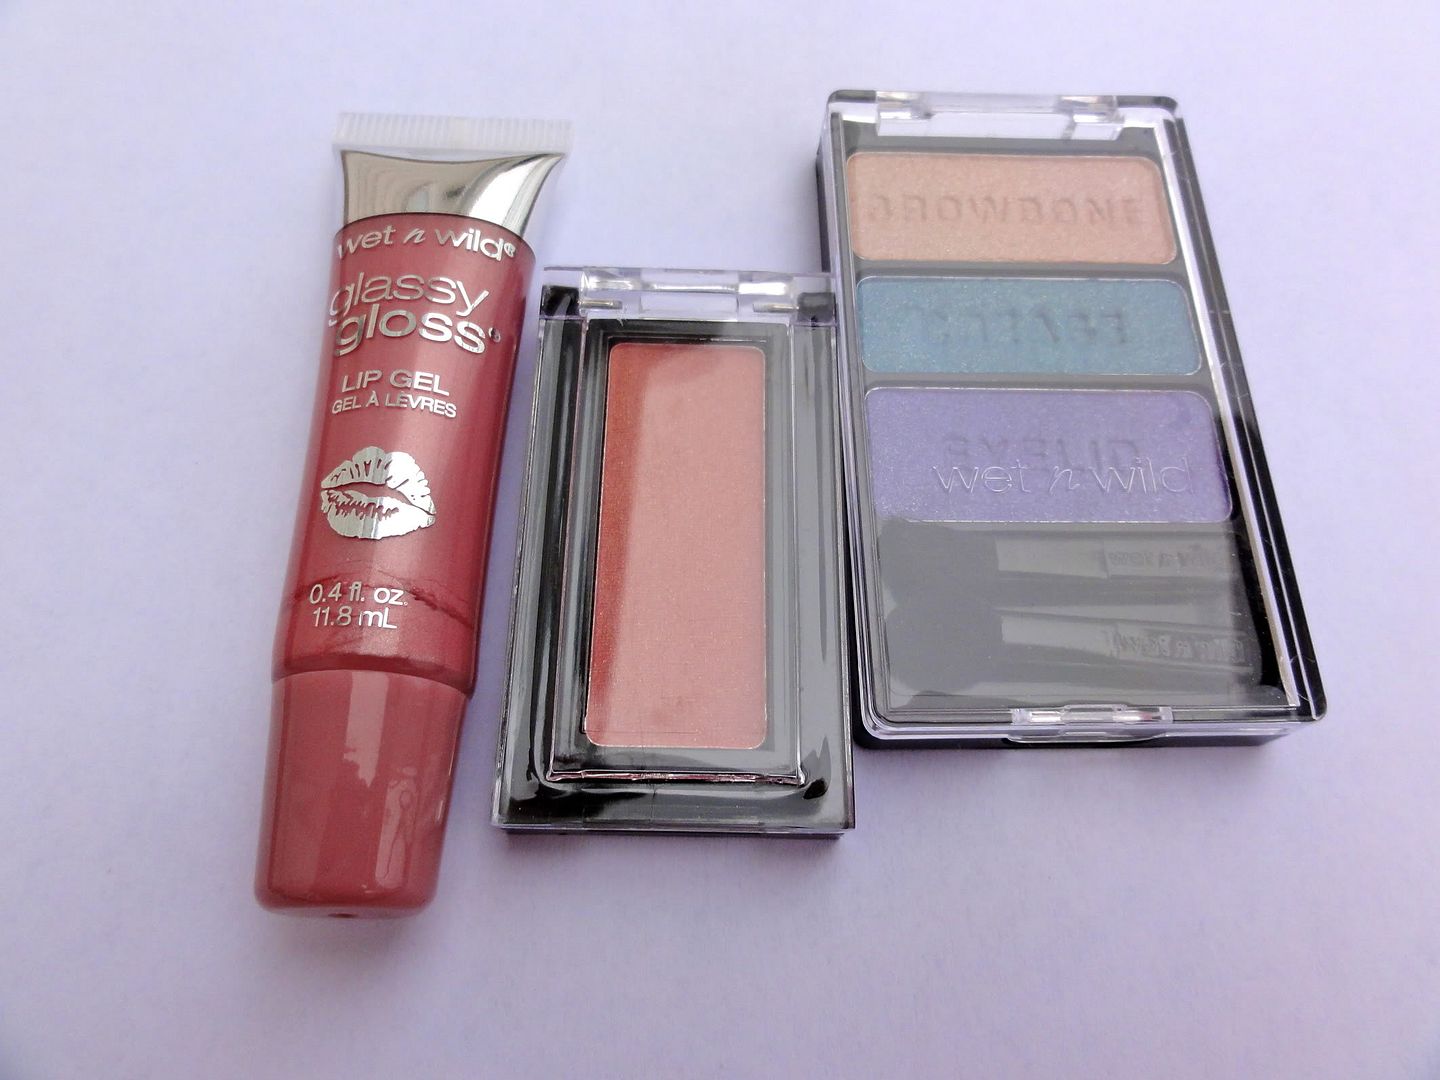 First, the lip gloss:
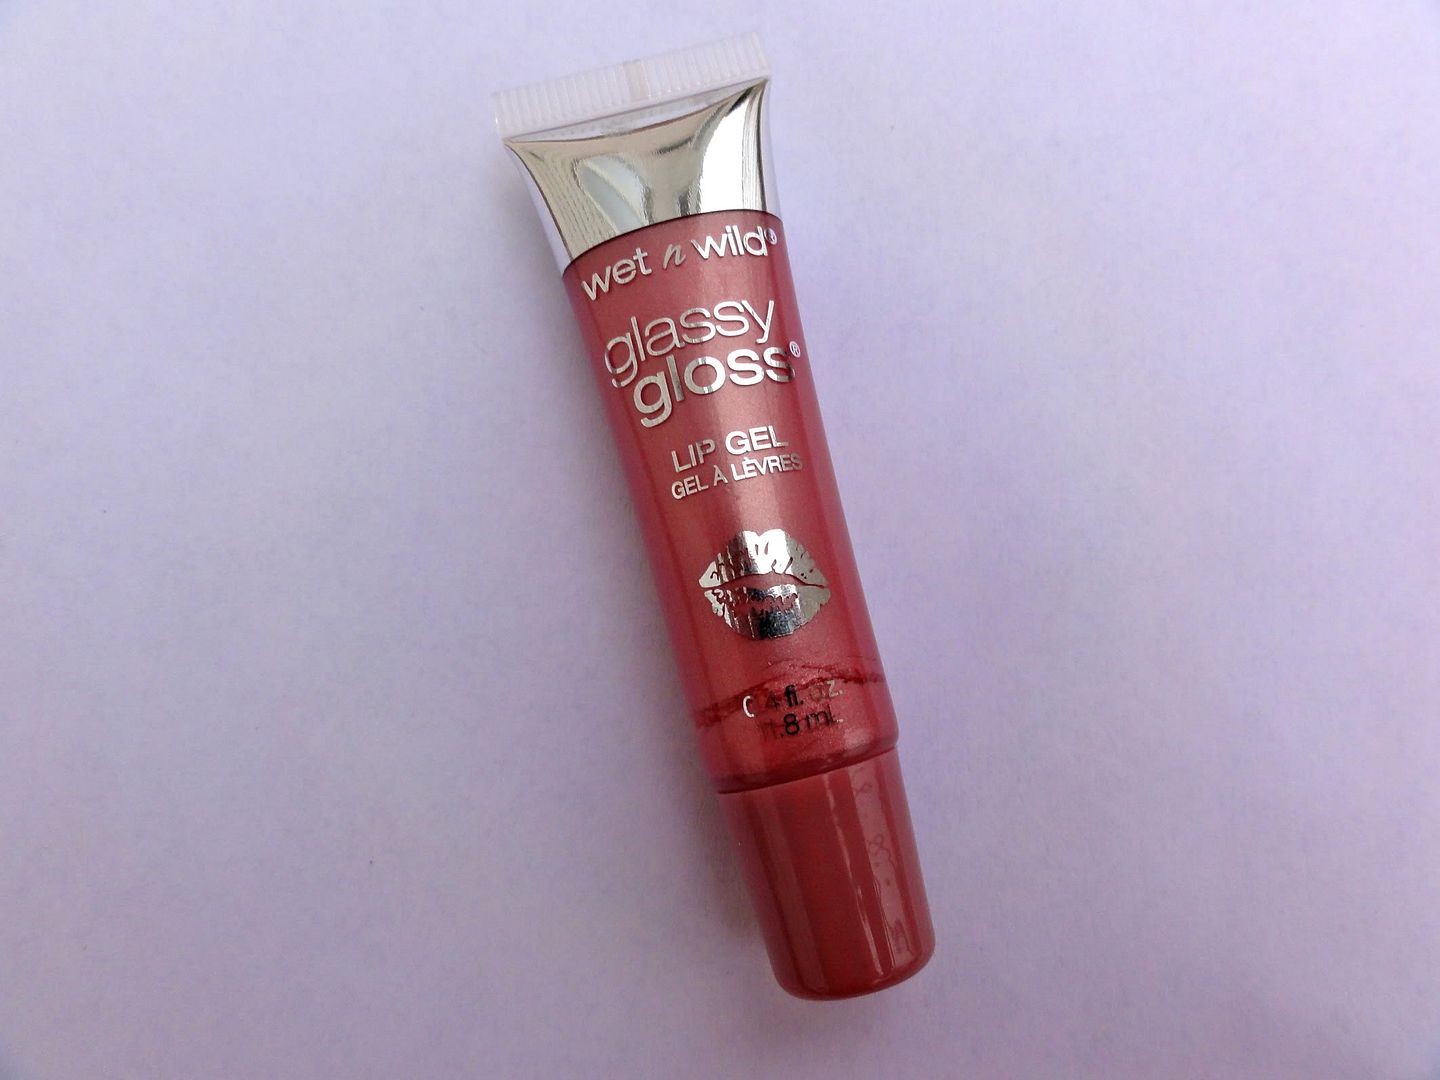 When I first tried to use some, it came out all gross, where the pigment and the gloss were separated somehow.
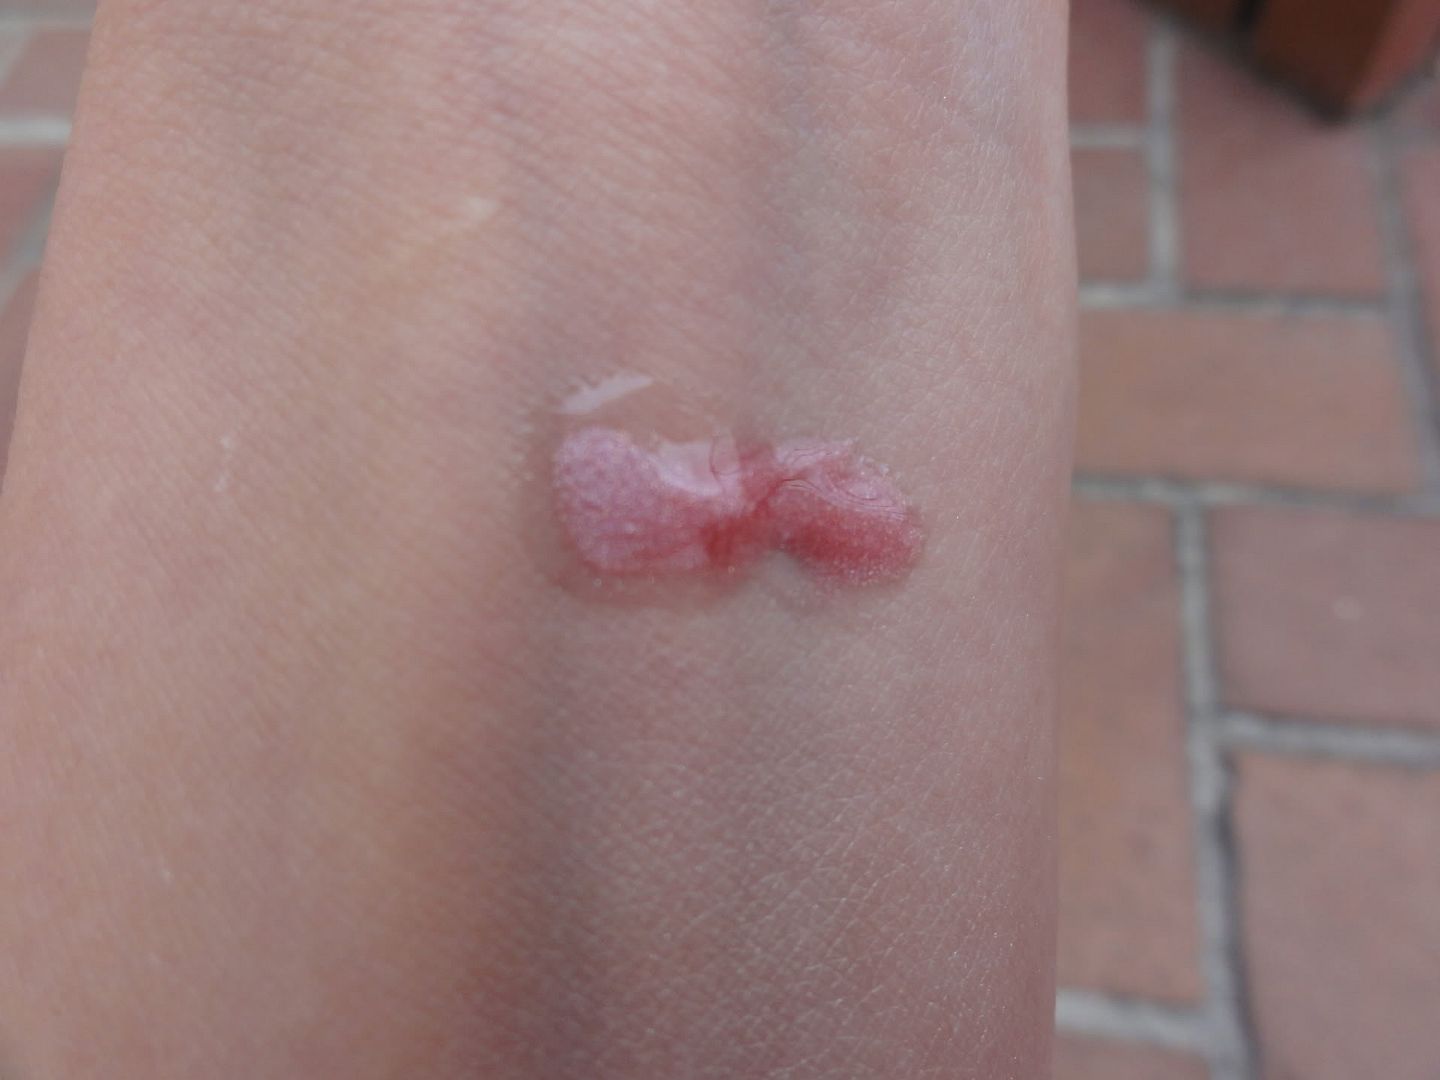
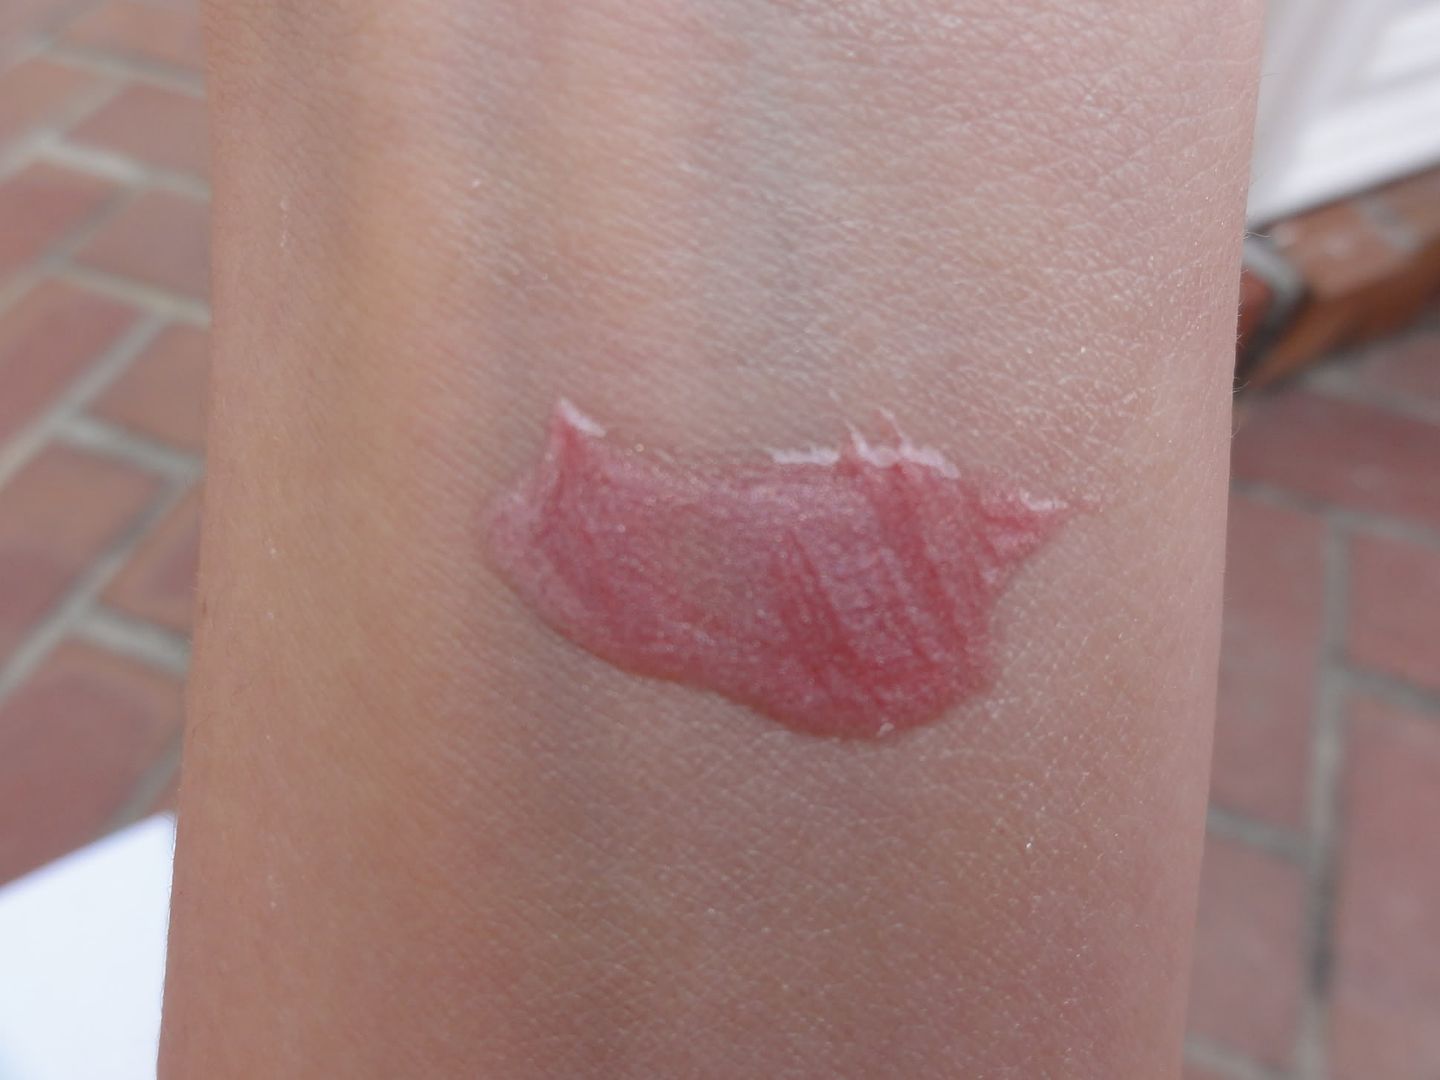


So I went and shook it, and then it was pretty much fine after. Still, it gives me the impression that the set was kind of old. Here's a real swatch:
It's a really pretty mauve-rose color! However, it has really subtle silver shimmer in it somehow, and it causes me to look washed out when I wear it. It stays for about 2 hours, but it's super super super sticky. I honestly can't put up with sticky lip gloss, since my hair gets stuck on it. I'm going to give this to my sister or someone who might get more use out of it.
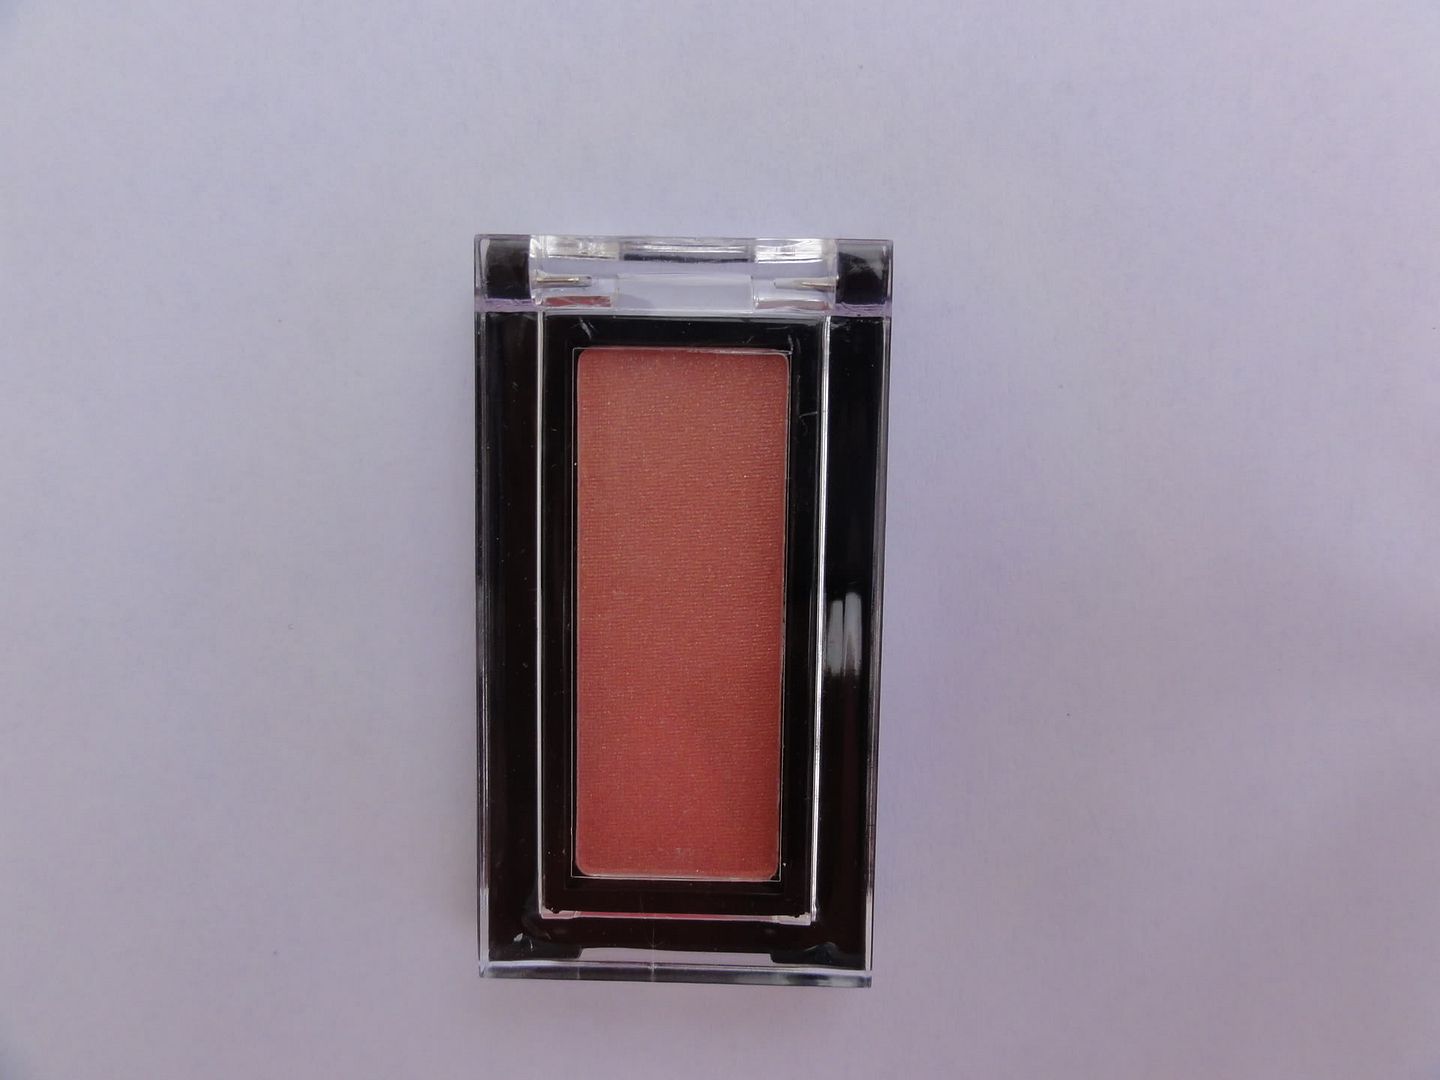
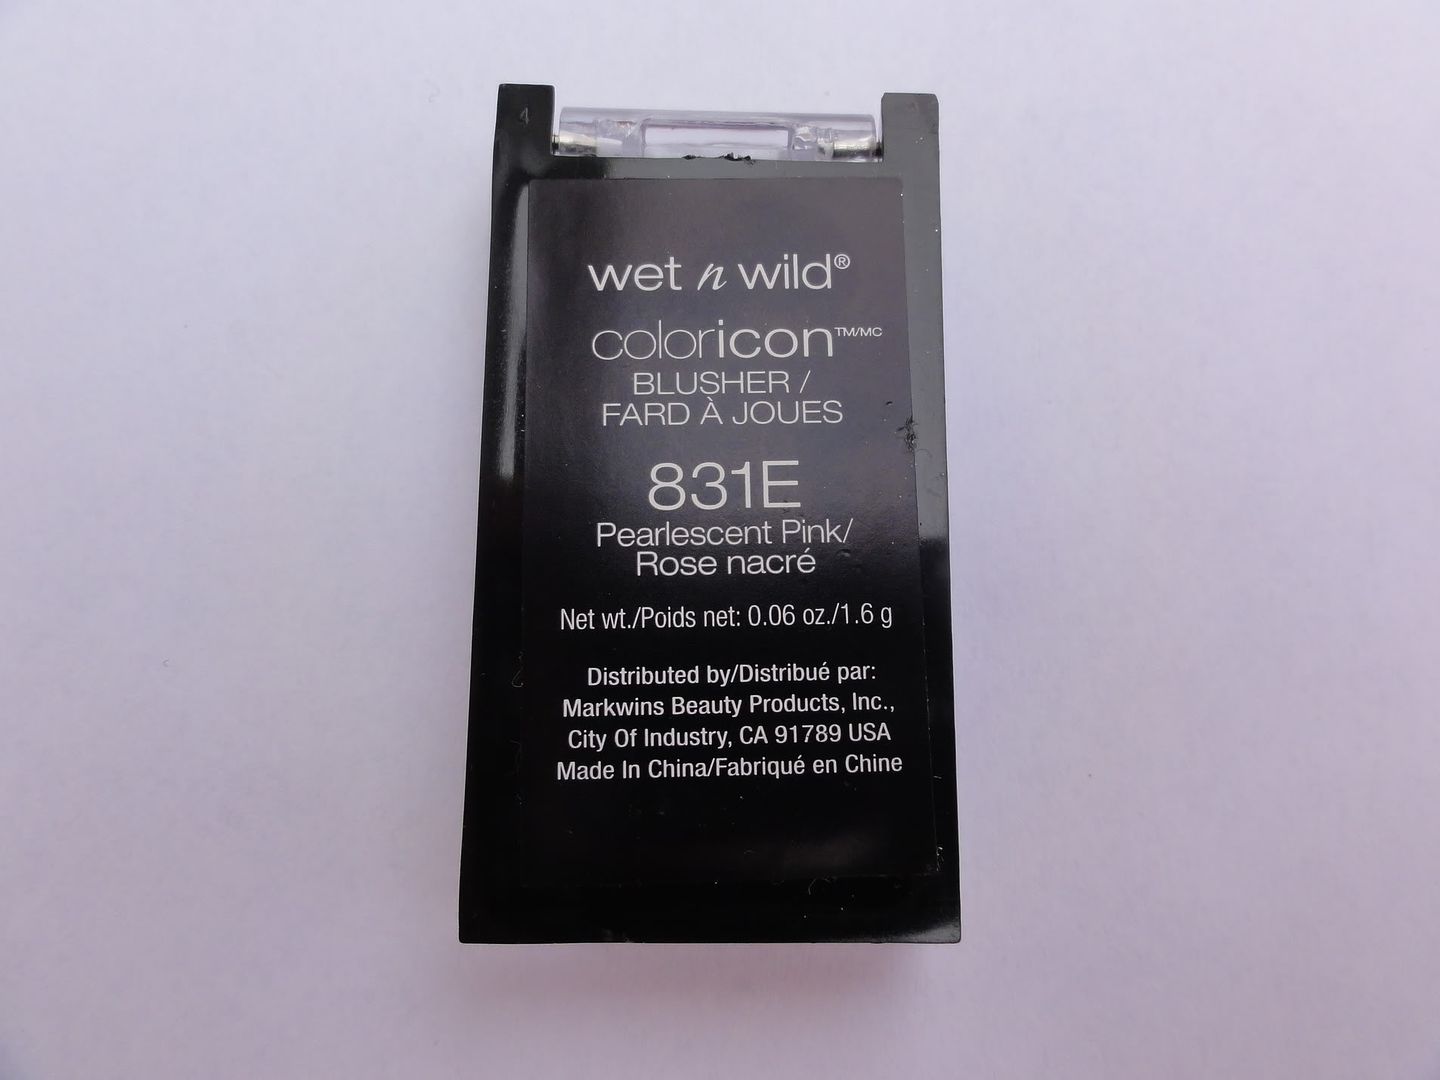
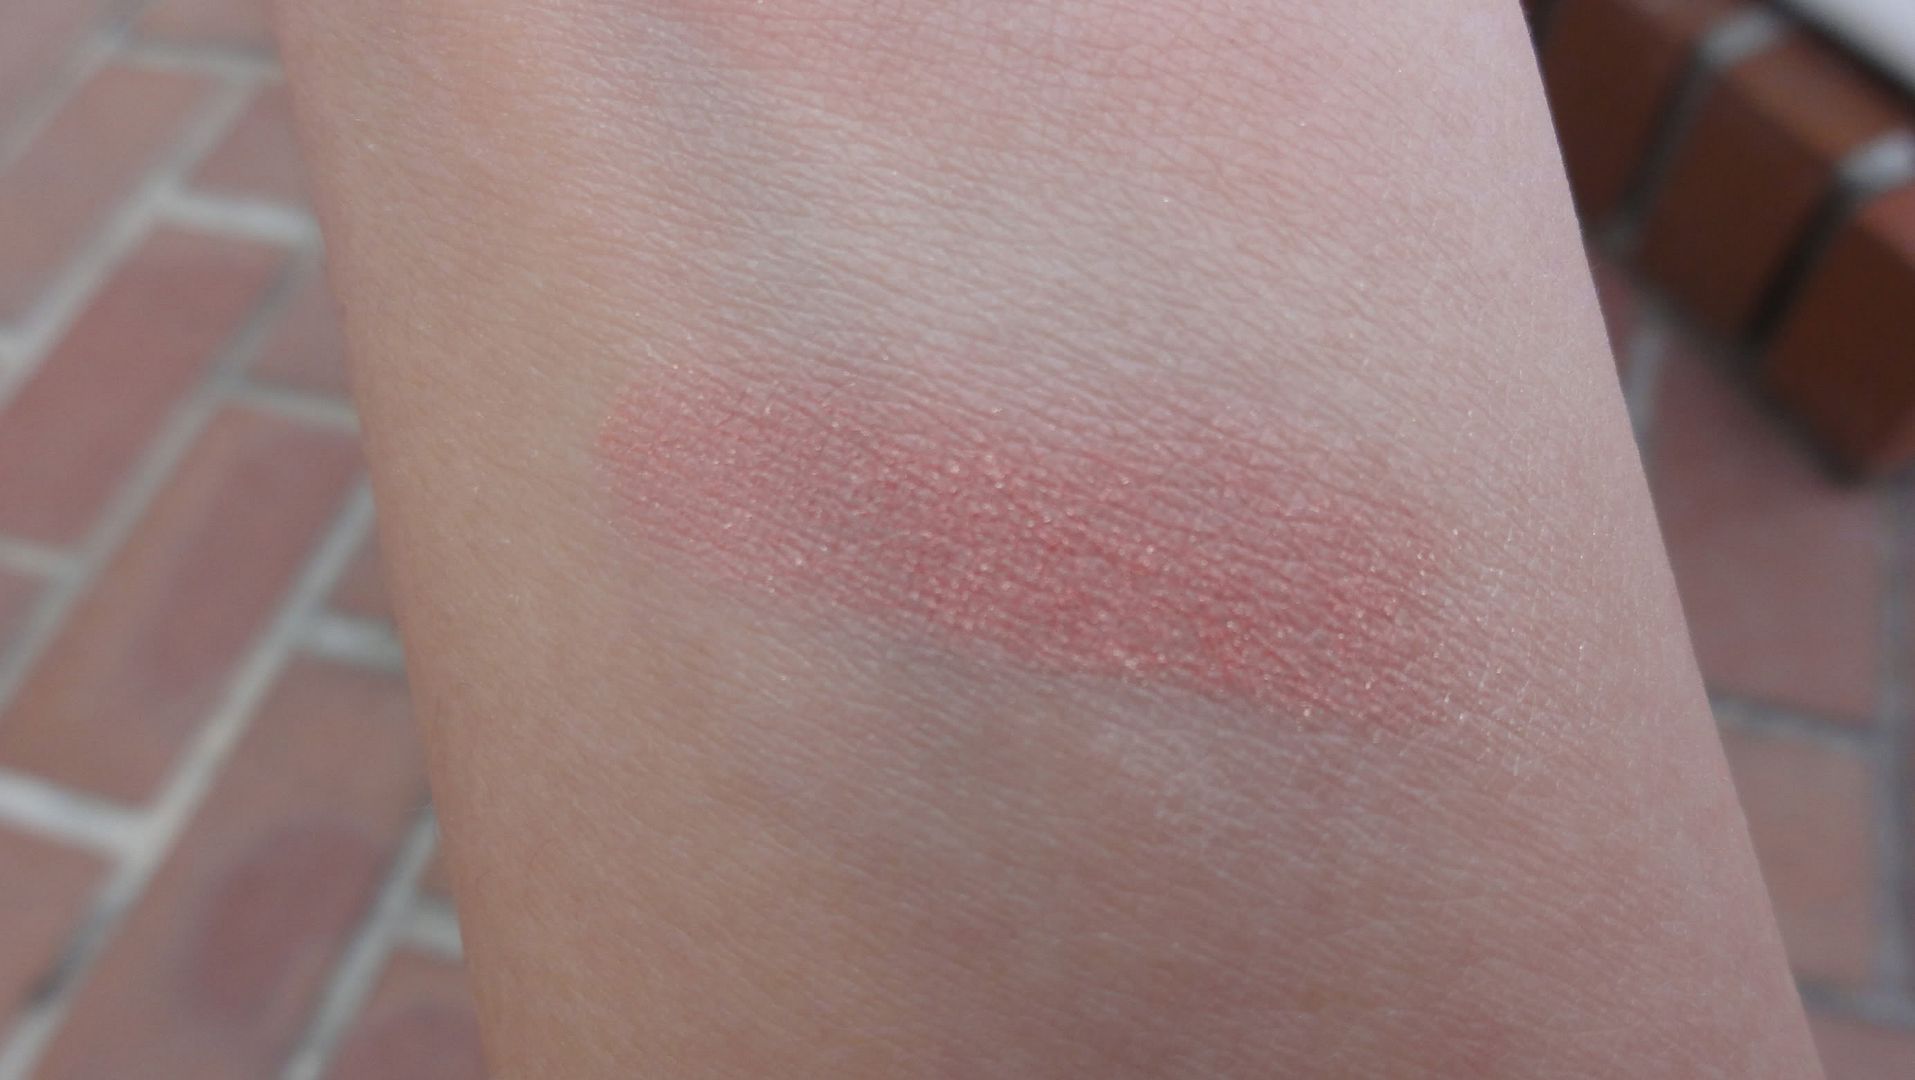
Then there's the blush.
I actually have a Wet N Wild blush by the name of Pearlescent Pink. However, the colors seem to be completely different. I'll do a swatch comparison for you guys sometime. Anyway, this is a pink with a tiny hint of peach and gold glitter that's not extremely chunky but isn't super subtle either. It's well pigmented, and very buildable for either a dramatic or natural flush. The narrow strip packaging is kind of annoying to fit a brush into, as you have to go sideways, and it opens vertically. It's fairly easy to pick up color, and it applies smoothly to the cheeks. It lasts about 4-5 hours on me. Not stellar, but not abysmal either. The blush is a solid item in this collection.
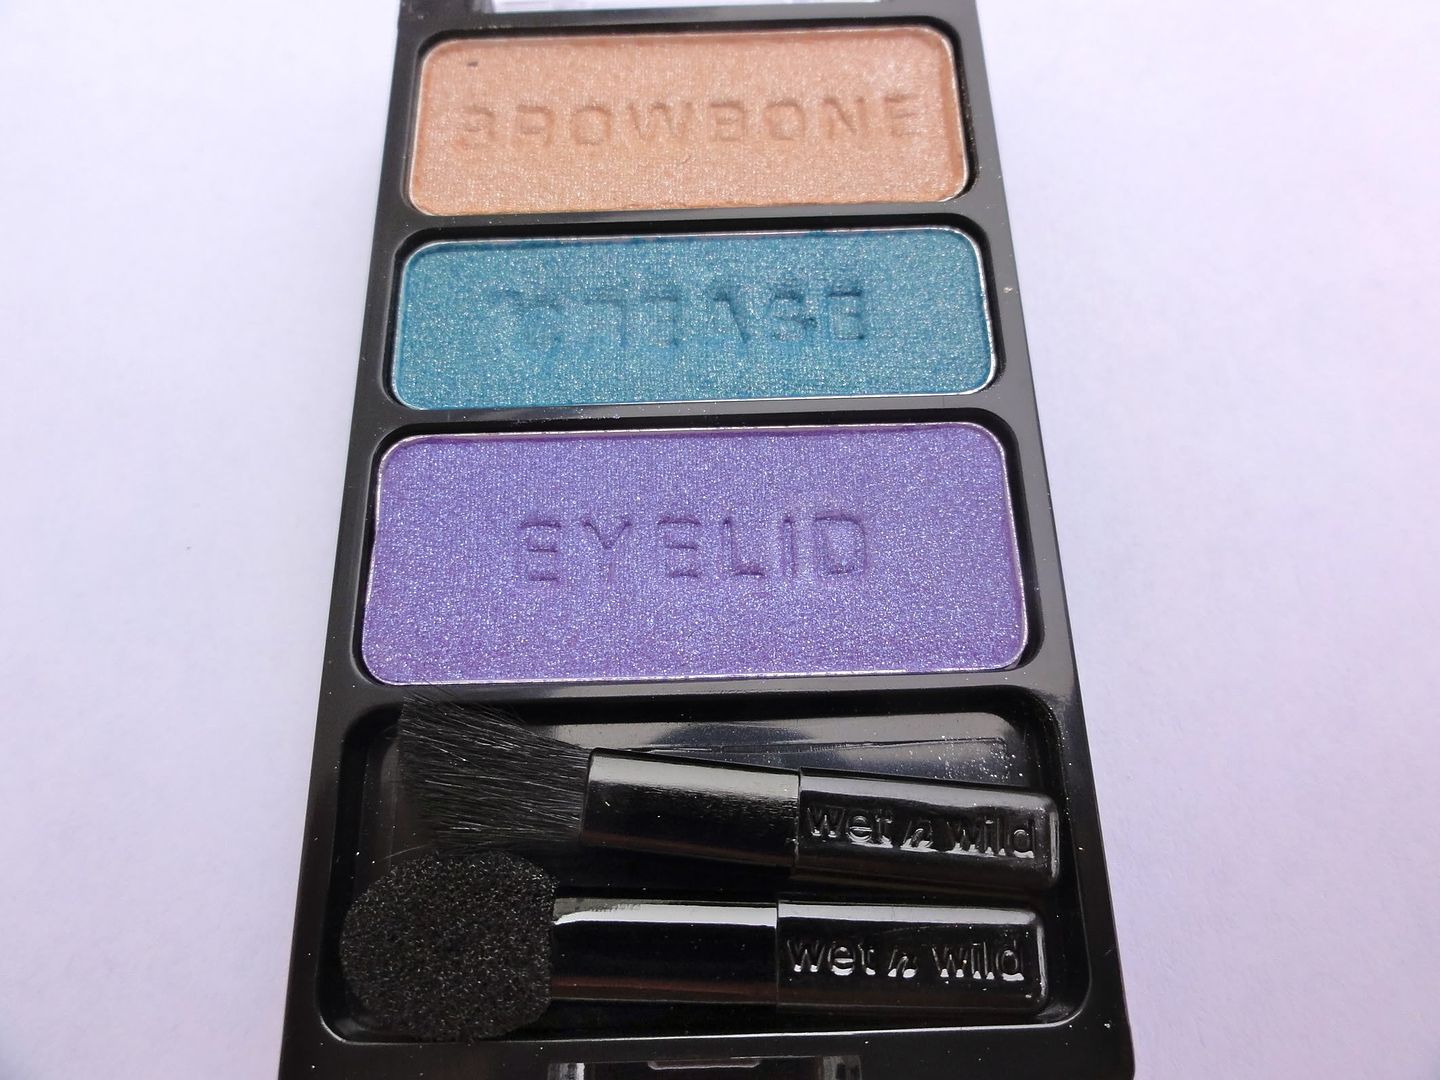
Lastly, my favorite item, the eyeshadow palette!
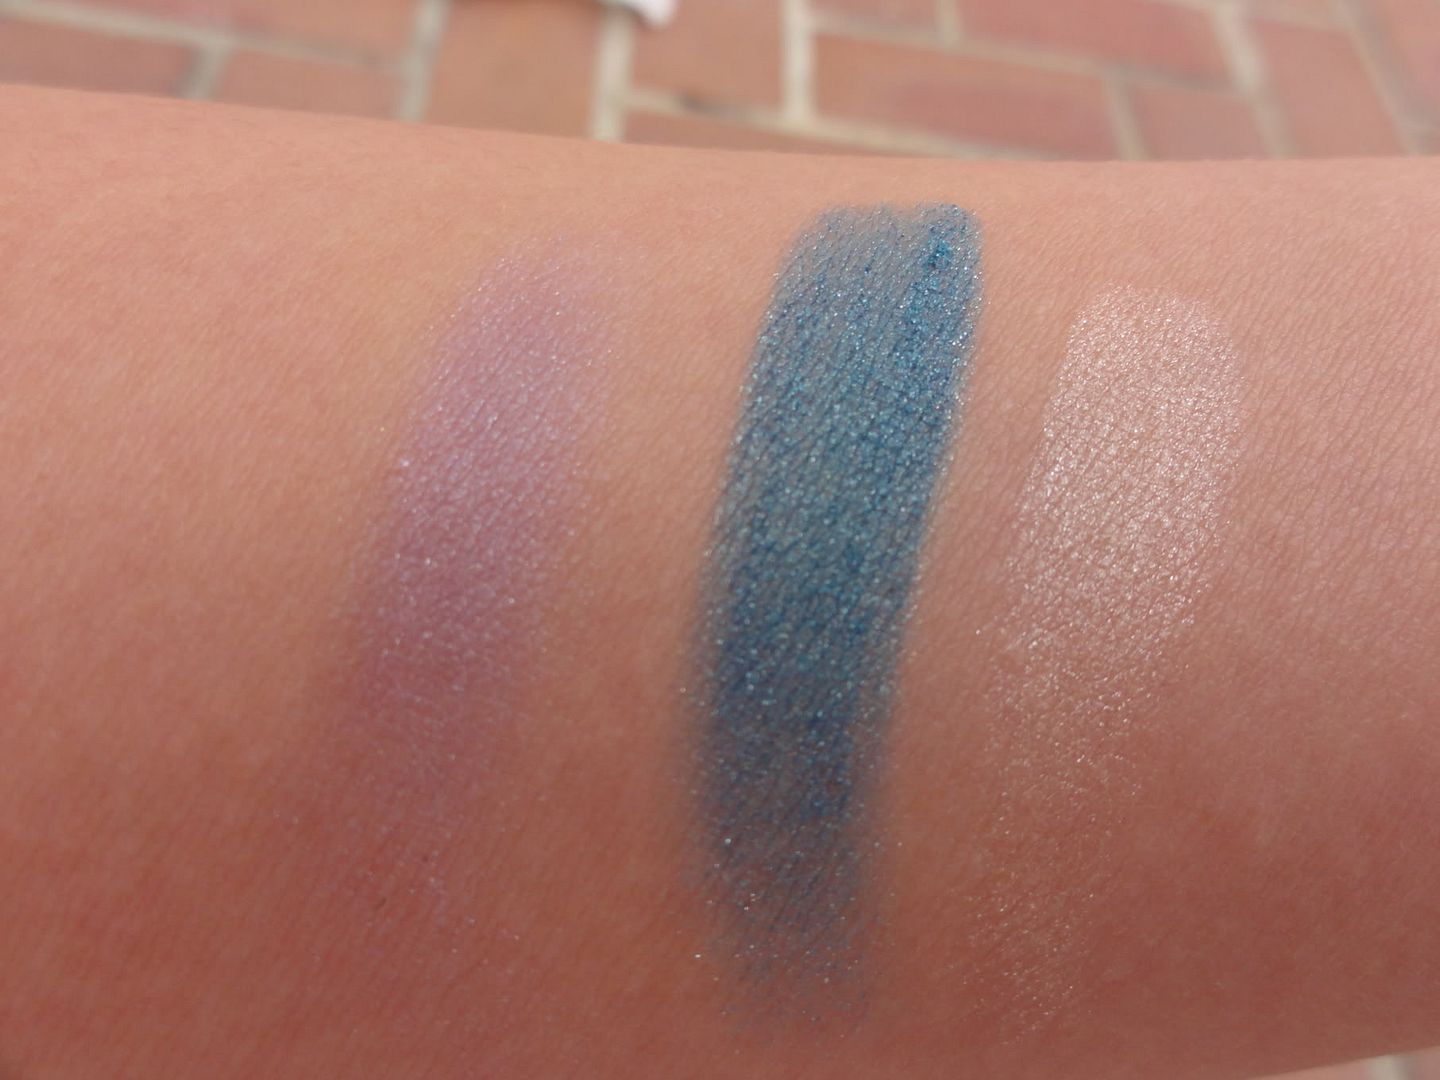
The palette has the typical Wet N Wild 3 pan packaging. Plastic and not particularly interesting or easy on the eyes. They also included the two useless brushes they usually do, both of which are going in the trash. However, the eyeshadows are a different matter. The top two shades, the white champagne color and the blueish teal (both shimmery), are perfect. They are both fairly soft but super, super pigmented. They apply beautifully. Unfortunately, the color I was most looking forward to, the purple with silver glitter, is just not pigmented.
Swatched without primer
As you can see, the purple's pigmentation is totally subpar compared to the other two colors. This was such a letdown for me, since I'm constantly on the hunt for a good purple that's not red based (red based purples make me look tired). I hoped I had finally found it in the Wet N Wild Fauna set, but I was wrong. It would be perfect, if only the pigmentation was better. This is how it looks when there's 4 layers:
Swatched without primer
They last all day without creasing over primer (I use UDPP).
Overall, this is a solid makeup set, especially for the amazing price. My only lament is the lack of pigmentation is the purple. I love the blush, and the teal and white champagne eyeshadows are gorgeous. The lip gloss is sticky and meh on my skintone, but someone who likes sticky lipglosses might enjoy it. I definitely don't regret purchasing this set, and I'd recommend it to anyone considering purchasing it; it's won't make much of a dent in your wallet, and you get good value for your money.
Thursday, July 26, 2012
Glowing Embers Tutorial/FOTD
I know, I know, the title is interesting, to say the least. But it's the best my friend and I could come up with. All name credit goes to my friend Mia, thank you! This morning, I decided to do a look with my Inglot eyeshadows. Inglot is probably my favorite makeup brand of all time - they have such consistent products at a fantastic price! Anyway, their eyeshadows are just fantastic in terms of texture, color, wear, and everything else you could think of. You guys have probably heard me rave about Inglot eyeshadows countess times on this blog, so I'll stop now. Anyway, I felt that my Inglot eyeshadows hadn't gotten enough love recently, so I used all Inglot eyeshadows this time around. Here's the look, and then I'll do a tutorial on it! My pictures didn't come out as well as I liked, sorry about that. =/


This look has pale golds, burgundy brown, and copper, although it doesn't show super well in the pictures. It's a really gorgeous look in real life! Here's pictures and swatches of the eyeshadows I used, so that you guys can find dupes in your collection.

Clockwise from bottom: Inglot Pearl 423, Inglot Pearl 405, Inglot AMC Shine 27

From top to bottom: Inglot AMC Shine 27, Inglot Pearl 405, Inglot Pearl 423
Hopefully you guys will have similar colors in your makeup collections! Anyway, here goes the tutorial:
1. Place Inglot AMC Shine 27 (a cool toned shimmery gold, I can't think of any dupes right now) over the inner 2/3 of your lid
2. Using a small shader brush, place Inglot Pearl 405 (a true copper, dupes could be MAC Amber Lights, credit to Temptalia, or Stila Copper) in the very center of your lid, making sure the color is visible.
3. Using that same small shader brush, place Inglot Pearl 423 (a brown with hints of burgundy, dupe could be Urban Decay Hustle) on the outer 1/3 of your lid.
4. Blend out all the colors
5. Add eyeliner if you wish, and mascara.
Here's a complete FOTD product list.
Eyes
-Urban Decay Primer Potion
-Inglot AMC Shine 27
-Inglot Pearl 405
-Inglot Pearl 423
-Fairydrops Scandal Queen Mascara
-YBF Automatic Universal Taupe Eyebrow Pencil
Face
-Pur Minerals 4 in 1 Powder Foundation
-Make Up Forever Full Cover Concealer in 7
-theBalm Hot Mama Blush
-theBalm Sexy Mama Powder
Lips
-YSL Rouge Pur Couture Vernis a Levres Glossy Stain in 15 Rose Vinyl
Hope you guys enjoyed the tutorial, I want to start doing more FOTD/tutorial type things in the future. I think they're a lot of fun! Next time I'll take step by step pictures so it's easier to follow and hopefully come up with a name that's not quite as cheesy (not that I'm bashing the name)! Hope you guys are all having a good day!
Wednesday, July 25, 2012
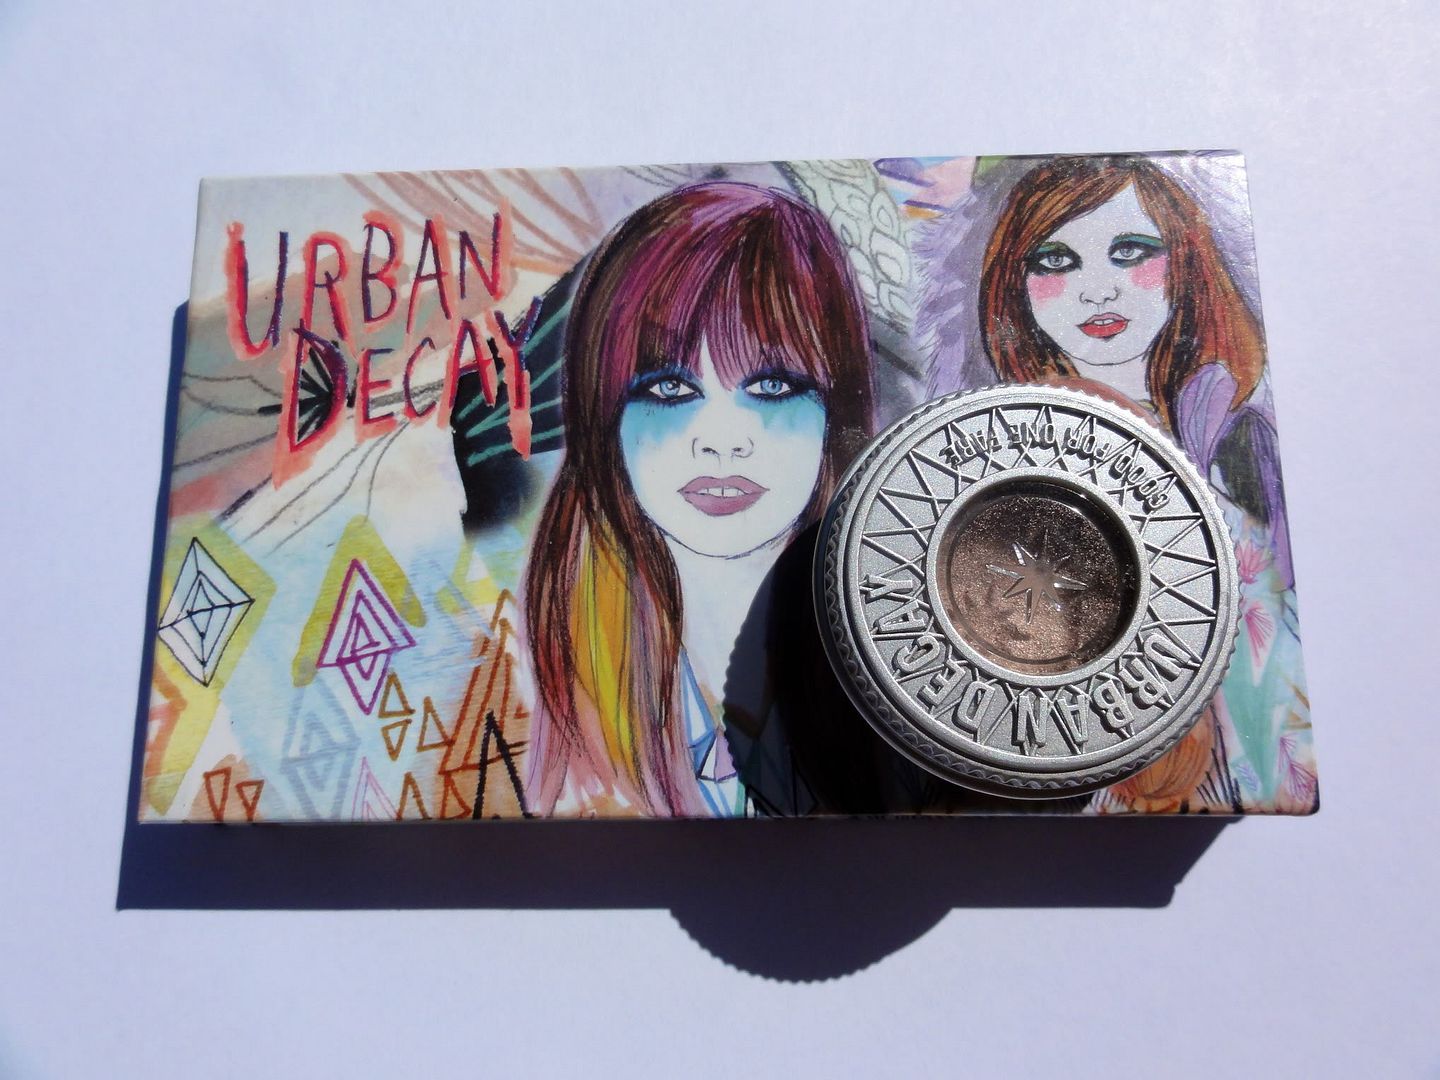
Toasted vs. Toasted
First off, it's my birthday! Yayyyy! 6 months until I get my driving permit...you do the math if you really want to know how old I am ;) Unfortunately, I'm at debate camp. I'm having fun with my friends here though, so it's not awful. Some of my friends shipped me presents, which I wasn't expecting at all. I woke up at 7:30am today (albeit grumpily), got ready and had to do speaking drills at 9am. Great start to the day...it's been fun otherwise though, I went out to lunch with friends. Today, I thought I'd do a post that I took pictures for before I left for camp. Enjoy!
In this post, I'm going to be comparing Urban Decay Toasted to Urban Decay Toasted. I swear, I'm not crazy (I think) so keep reading! I had the Urban Decay Show Pony palette, and I absolutely fell in love with the color Toasted from that palette. Toasted is a shimmery brown color with taupe in it. The texture is super smooth and buttery, and it has pretty much perfect staying power. I didn't love the palette overall, though. So I decided I would swap the palette away and buy the single of Toasted.
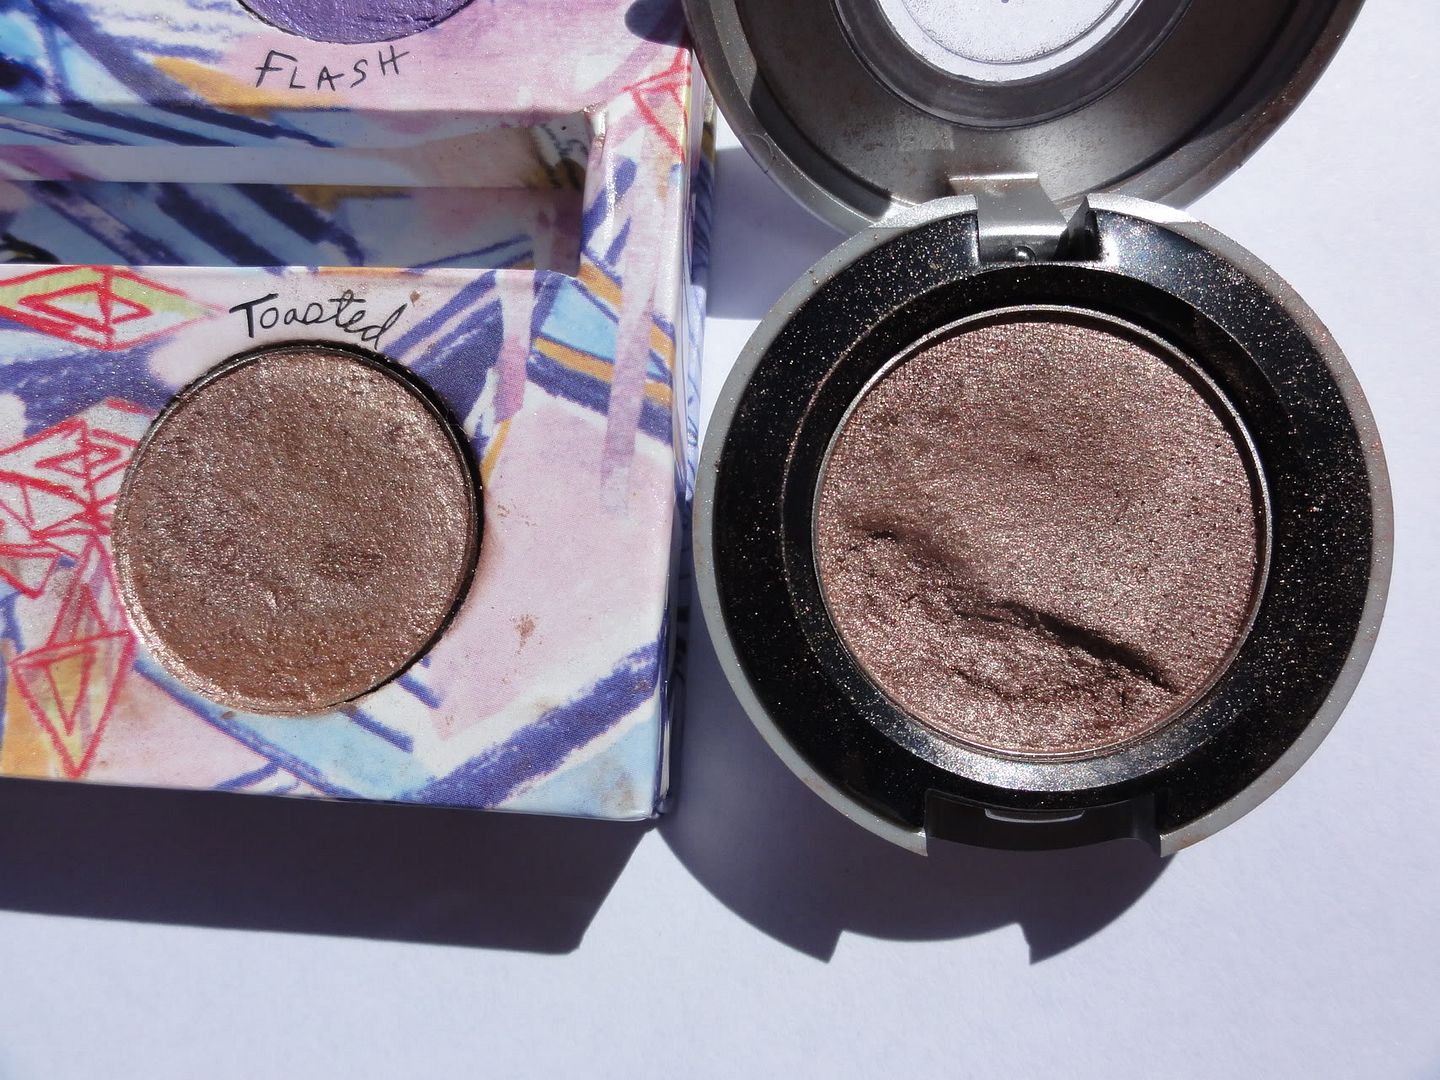
 I haven't yet managed to swap away the palette (I might put it up if I do a blog sale), but I did swap for a single of Toasted. It was chipped, but I haven't used up an eyeshadow yet, so I was fine with that. I apologize if the obvious use hurts your eyes. Anyway, when I held the two Toasteds side by side, I saw that there was a definite difference in the two supposedly identical eyeshadows.
In this post, I'm going to be comparing Urban Decay Toasted to Urban Decay Toasted. I swear, I'm not crazy (I think) so keep reading! I had the Urban Decay Show Pony palette, and I absolutely fell in love with the color Toasted from that palette. Toasted is a shimmery brown color with taupe in it. The texture is super smooth and buttery, and it has pretty much perfect staying power. I didn't love the palette overall, though. So I decided I would swap the palette away and buy the single of Toasted.
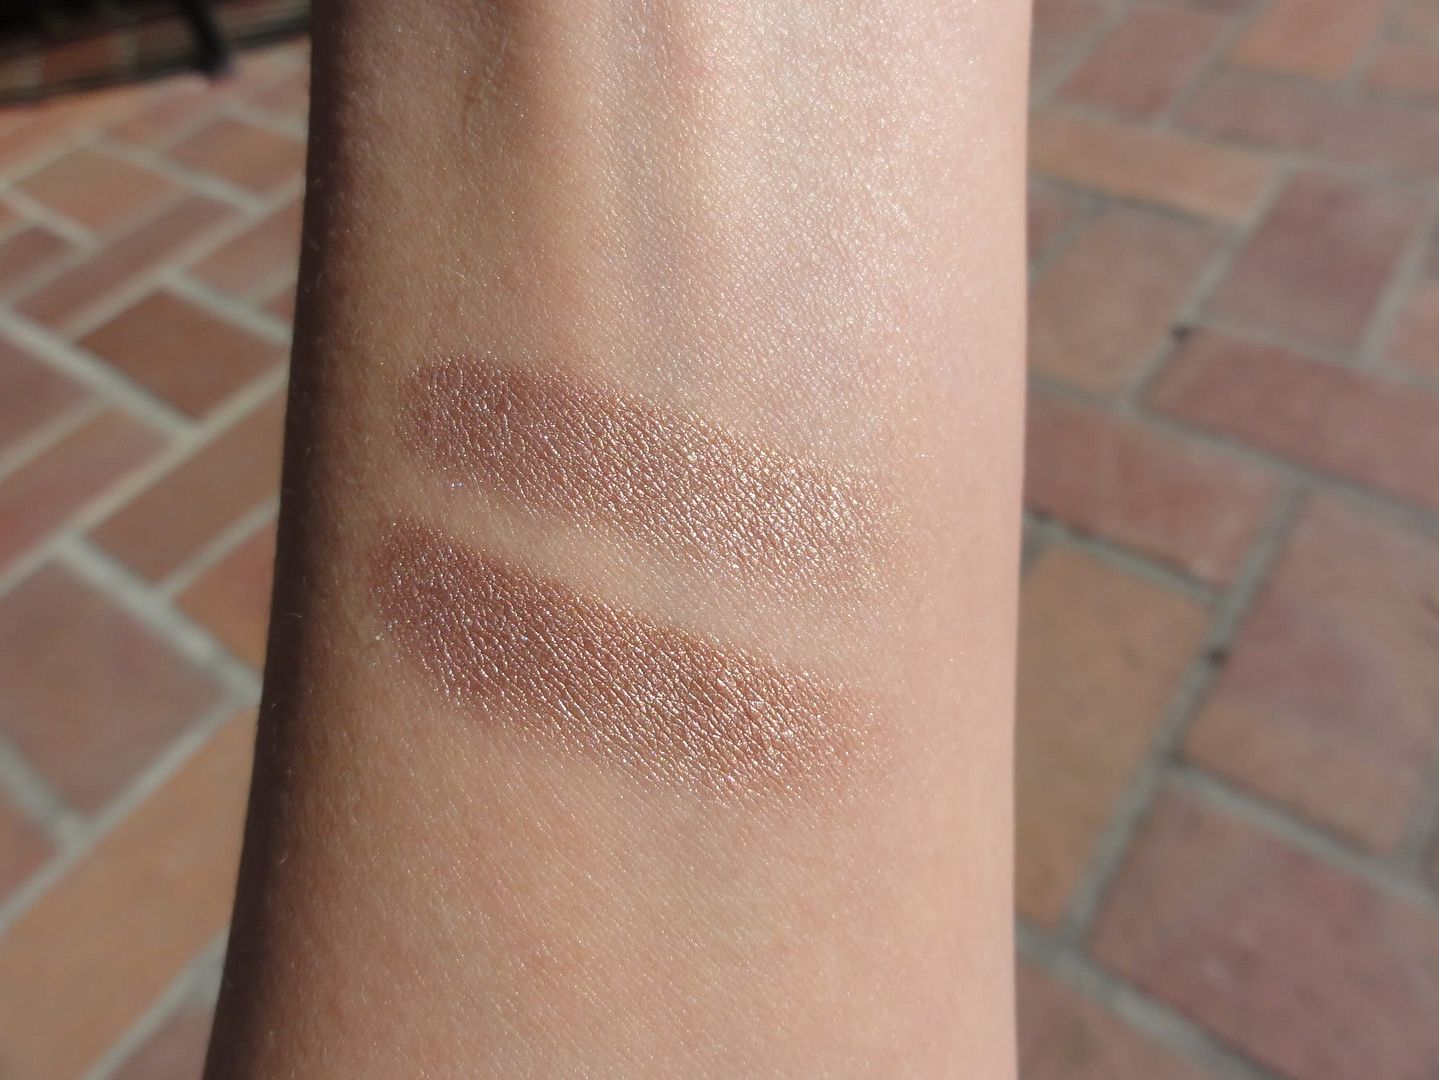
The difference isn't as obvious on camera, but it's definitely evident in real life. The single of Toasted looks a lot warmer than the version in Show Pony. I swatched the two side by side to see if the difference still showed up that way.
UD Toasted from Show Pony palette on top, UD Toasted single eyeshadow on bottom
Aha! See, they're not the same! The difference is evident. Why, Urban Decay, why? I loved the palette version. Urban Decay is usually an extremely consistent brand - their eyeshadow singles are usually the exact same color as in their palettes. However, this time I was let down. The single version is just a tad too warm for my taste - the slightly cooler version works much better on my skin. Although I do have warm skin, I can't wear extremely warm colors, such as true copper. Anyway, I just thought I'd post to let you all know about the difference. Maybe one of the items was off-par (is that a word?) and that's the reason? If anyone has had a similar experience or has an idea why the two Toasteds swatch differently, let me know in the comments!
Friday, July 20, 2012
Giveaway Update!
Hey guys! There was a technical issue with my giveaway, and Kim had previously won the giveaway, so she wasn't eligible to win again. However, I've picked a new winner, Juliana! Congratulations! I've emailed you and someone from Apothica/SkincareRX should contact you shortly!
Thursday, July 19, 2012
I'm co-hosting the Brightside Beauty Weekend Blog Hop!
Hi everyone, hope you're all having a good evening! I was lucky enough to become this week's co-host of the Brightside Beauty Weekend Blog Hop! The lovely Kristin is the weekly host of this evend. The Linky list will be open now until this Sunday night 11:59 pm, Ohio time. There are only a few guidelines , so read and follow them all and let the fun begin. Don't forget to come back to Kristin's blog every Friday to join the blog hop and enter future giveaways :) The blog this weekend with the most views will win a co-host spot on next weekend's hop so get your network on :)
On FB, or GFC, and be sure to leave us a comment so we can follow back!
2. Add your Beauty, Fashion, Style Blog, Blog Post, or FB page link to the linky list below, before list closing on Sunday evening, Ohio time.
3. Visit other blogs on the list, follow at least two other blogs you like, and be sure to leave them a comment so they know to follow back. Please be kind enough to follow back as well.
4. Not mandatory, but if you grab the button and place it in your side bar or somewhere on your blog, tweet, or post about the hop, you can help to increase your co-hosting chances.
Again, the blog that has the most views this week will be my co-host next weekend so make sure to network!
NOTD ft. Julep Blake and theBalm on Hautelook!
A while ago, I visited my aunt and uncle in Seattle. My aunt is a Julep maven box subscriber, and she offered to let me try out her nail polish! Since I've never subscribed to Julep or tried any of their nail polishes, I was pretty excited. Since I don't own any yellow nail polish, I decided to try Blake, which was a beautiful pastel yellow. Long story short, I didn't get a picture with the bottle in hand. I loved this nail polish, it went 5 days without major chips!

I'm considering purchasing the full size of this nail polish, I really love it! I'm still at debate camp, so I'm having a bit of a hard time keeping up with my blogging as well. I'm currently writing a speech about conditionality (nothing to do with hair!) in policy debate and whether it's fair. Sounds fun, right? Eh. I am having a good time at camp overall, though.
By the way - theBalm is having another sale on Hautelook tomorrow, and I have my fingers crossed that they'll have some of their lovely blushes on sale - I know at least one is going to be up (FratBoy)! Here's the preview picture:
Anyway, thanks for reading, hopefully you are all having a fantastic mid-July!
Monday, July 16, 2012
Post 100!
Guys, first of all I'd like to thank you for reading what I write. When I started this blog, I thought nobody would read it. Thankfully, I was proved wrong. And I am grateful to every single one of you who takes the time out of their day to read my musings on beauty and occasionally other topics. It really, really means a lot! I love to write, and I love makeup and beauty. I love getting comments on my posts and discussing stuff with you guys. I hope that I help you guys out when you make decisions about buying products; that is my end goal. Overall, I'm just incredibly grateful to all of you for subscribing and reading and commenting. Thank you all (this is post 100 by the way, that's the reason for all the gushing)!
Oh, and just a heads up: I'm currently at debate camp, and we have a really full schedule. So I might not post as much as usual for the next 3 weeks, please bear with me. I'll try to get posts up when I can, though!
Oh, and just a heads up: I'm currently at debate camp, and we have a really full schedule. So I might not post as much as usual for the next 3 weeks, please bear with me. I'll try to get posts up when I can, though!
Sunday, July 15, 2012
4 Step DIY Moisturizing Lip Scrub!
In this world, there are a lot of people who use lipstick. And since there are so many lipstick users out there, there are consequently a lot of lipsticks out there. Some of these lipsticks require exfoliating your lips previously to make the lipstick look good. I happen to own a couple of these lipsticks. Additionally, exfoliating your lips is good for them. And lastly, I'm too cheap to go buy a real lip scrub. So, all of these things added up to me deciding to make my own lip scrub. I'm quite pleased with the results, which is why I'm sharing the how-to with you today. These are the things you'll need.


The items wouldn't all fit in one picture, sorry about that! Here's a list:
-Brown sugar (any type)
-A small lip gloss pot
-A Q-tip
-Aquaphor or Vaseline
-Scissors
-A spoon
Now, let's begin!
Step 1: Cut off one of the cotton ends of the Q-tip


Step 2: Put some Aquaphor or Vaseline in the lip gloss pot.

Step 3: Get some brown sugar. The Aquaphor : brown sugar ratio should be about 2:1. So the amount of brown sugar depends on how much Aquaphor you used. Make sure there are no nasty chunks of brown sugar.
What you don't want:

What you do want:

Step 4: Mix the brown sugar with the Aquaphor.


You have now made your own lip scrub! Congratulations! The Aquaphor or Vaseline is moisturizing, and the brown sugar exfoliates. Hope you guys liked this tutorial, let me know if you want to see more like this!
Subscribe to:
Comments (Atom)